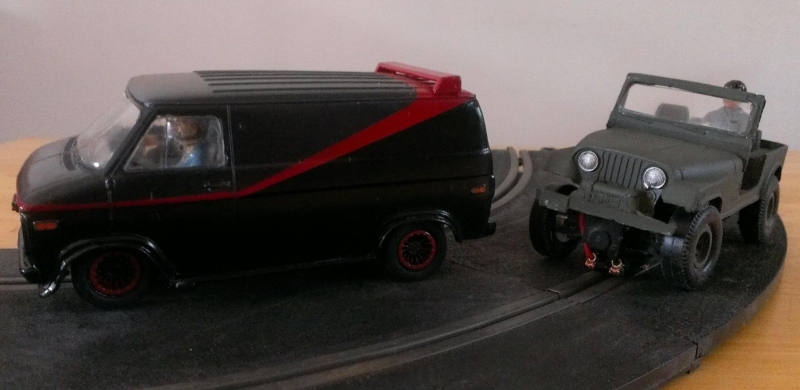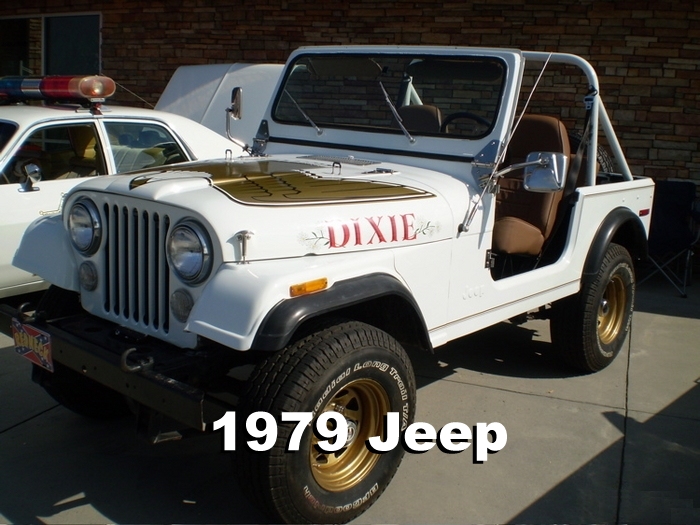
The Jeep must be one of the most versatile vehicles ever used on TV; you might decide to paint it white and dream about the driver, or paint it green and crash it into a ramp carefully hidden under a bush.

The 1:32 resin bodyshell is cast from a 2 part mould with body mounts already fitted, and the windows are much thinner and easier to cut out than with my older bodyshells.
In the kit you get
- Resin bodyshell
- Resin wheel centres which copy the 8 spoke wheels
- Vacform front screen
- Driver figure
- Guide blade
- Guide spacer
- Ortmann 23 x 7.5 tyres
Bodyshell preparation is here, detail follows below.
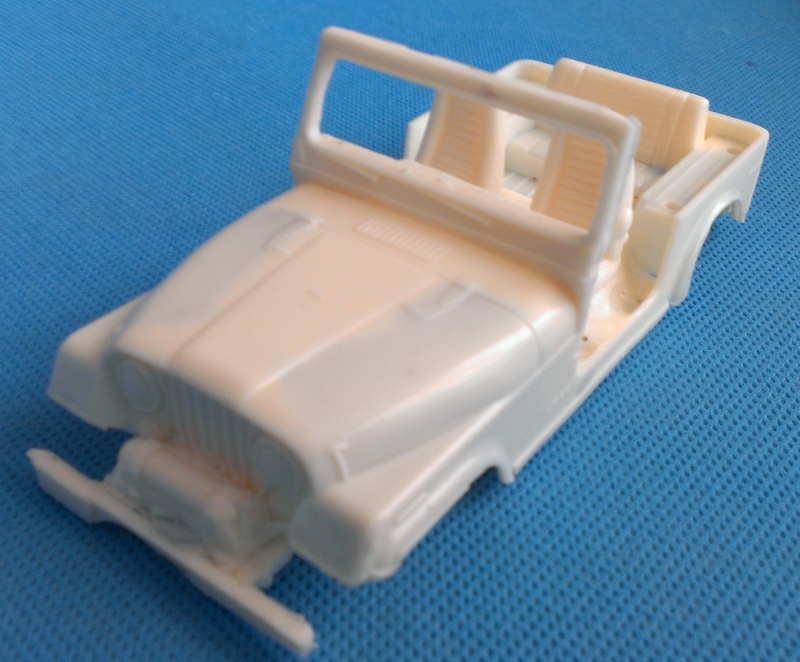
If you intend to drive this on the track, you’ll probably crash. Go on, be honest. To protect the resin screen I bent up a piece of 2mm brass bar and glued it behind the windshield as a hidden roll bar, you can see it in this picture. Once the whole thing is painted you don’t notice it. Most Jeeps on TV (especially those about to crash) had a roll bar in the rear, too. There are holes in the bodyshell if you want to make your own.
If you’re fitting it to someone else’s chassis, you just need to wash the body in soapy water to get rid of any mould release agents, then leave it to dry. Choose your favourite primer and get to it. Once the body is dry, sand with 600 grit wet & dry paper, one more coat of primer then start with the top coats making sure each coat is fully dry before sanding again. Use 600 grit between top coats and usually 3 coats is enough.
To use a chase-cars chassis, you need to make a small modification to the chassis itself. As the chassis is quite visible, it’s also worth painting it matt black to hide it when the car is on the track.
When you line up the rear wheels to to the body, you can see the part that needs to be cut, it’s the feature at the back of the chassis. Take a sharp knife or side cutters and trim the chassis away.

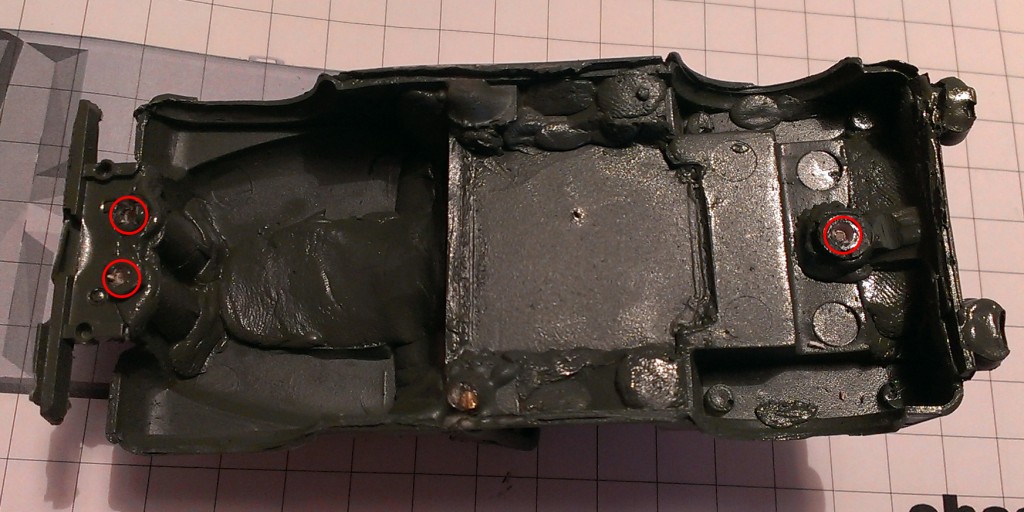
Where I’ve marked the red circle is where the body will be screwed at the back. Don’t worry, you’ll make this in the next step.
Drill out the holes in the bodyshell from underneath to fix the chassis in place. At the front the holes should be 2mm, at the back the hole should be 2.5mm because the screw passes through into the chassis.
Line up the bodyshell and make sure the chassis is the correct wheelbase.
Now drill down with a 2mm drill bit into the chassis
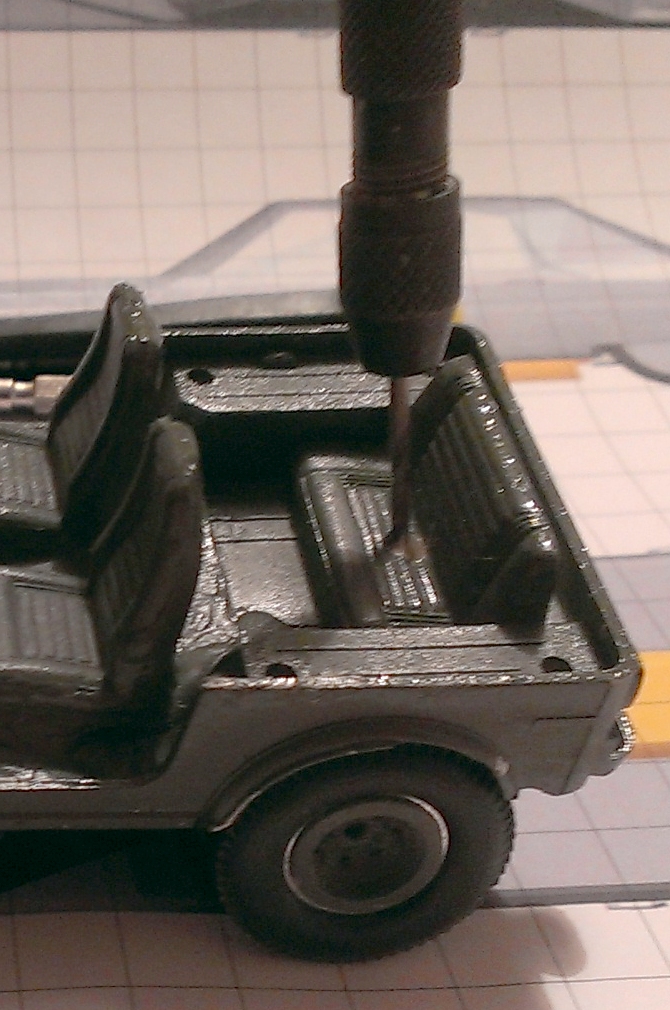
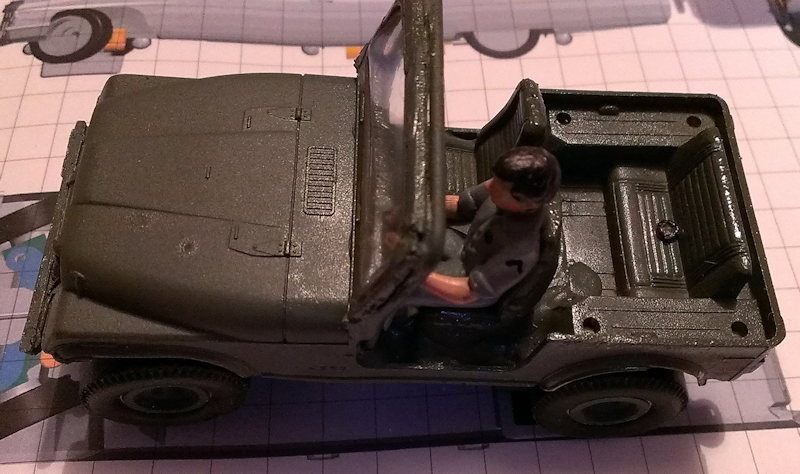
The chassis is fixed by the normal 2 screws at the front from underneath, and one screw from the top. Paint the screw in the rear black to hide it better.
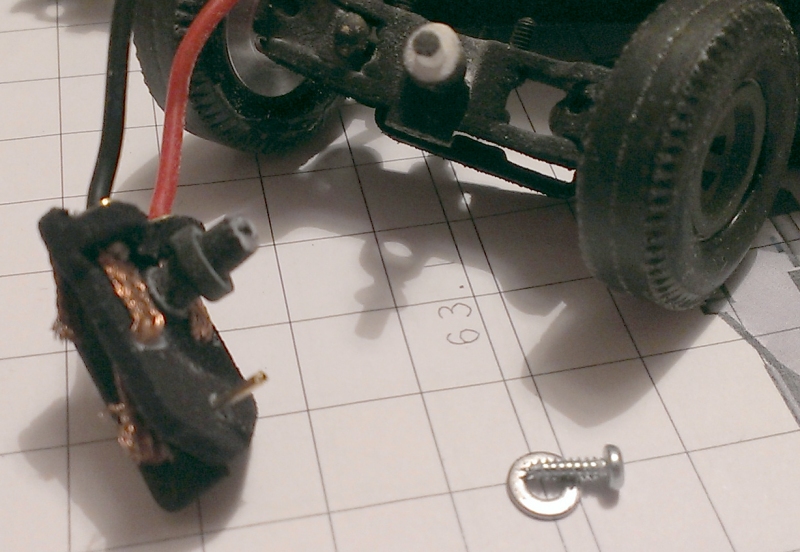
If you want to use the large tyres, the chassis will be higher so the guide will be lifted out of the slot. To take account of this, there is a spacer provided in the kit which lowers the guide to the right place. It fits between the front axle and guide.
First, cut the guide to length, the stem should be 8mm long
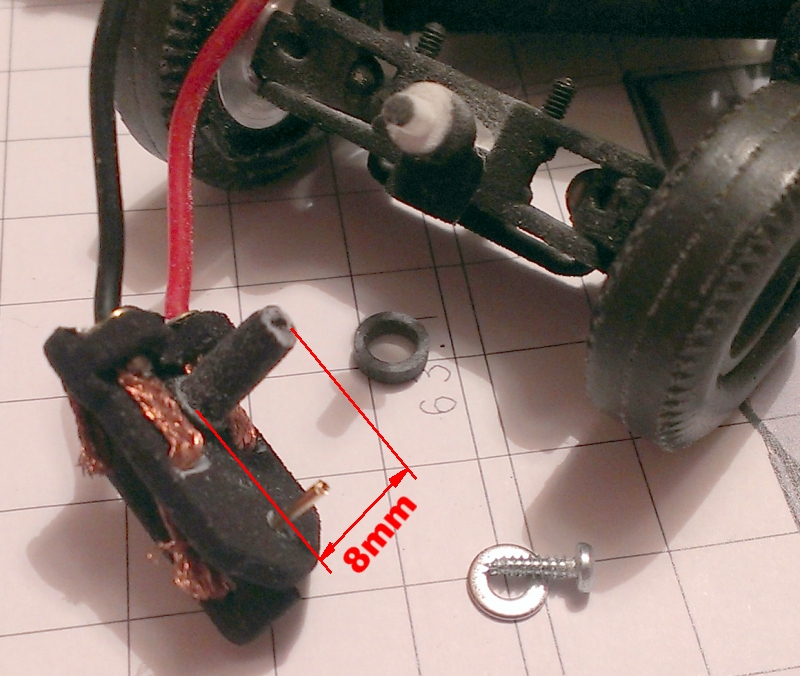
The put the spacer over the guide stem, put it into the front axle and use the screw to hold the guide in place.
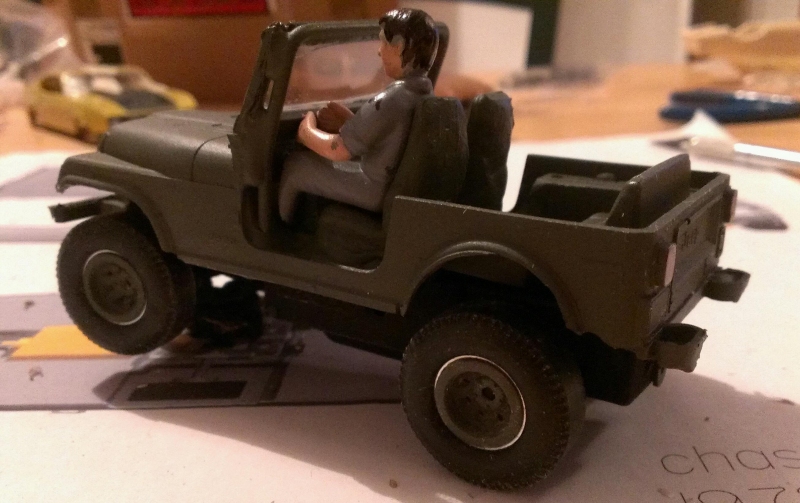
Trim off the driver’s feet and put him in the seat to check for size. I used grey paint as he looked a bit plain in army green, the same as the jeep.
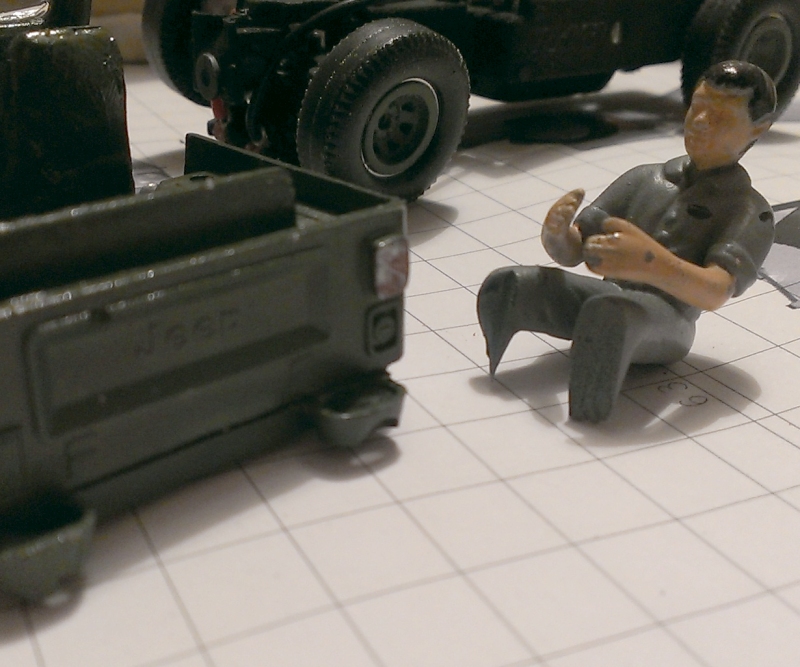
Put some red paint on the rear lights and silver on the front, that’s as much as you need
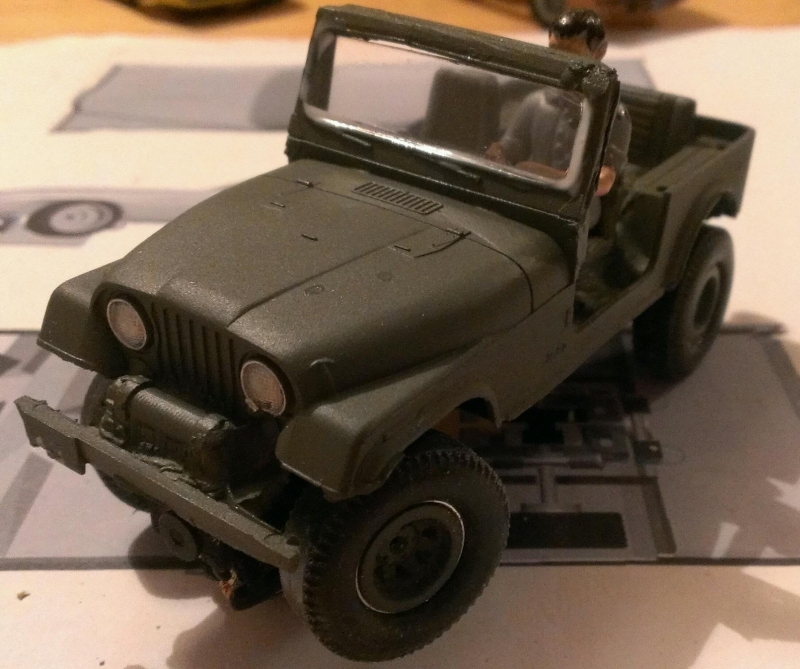
Now get on the track!
