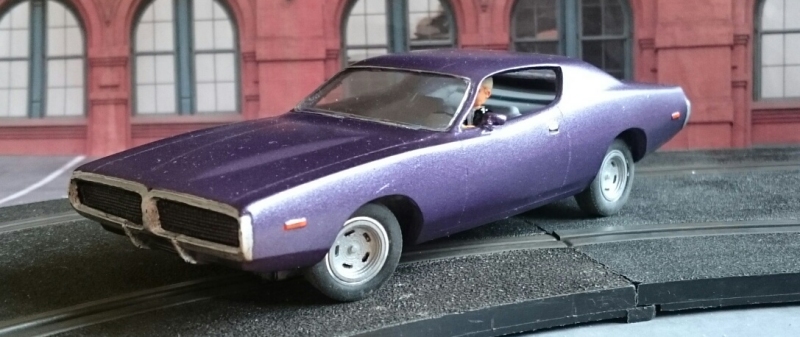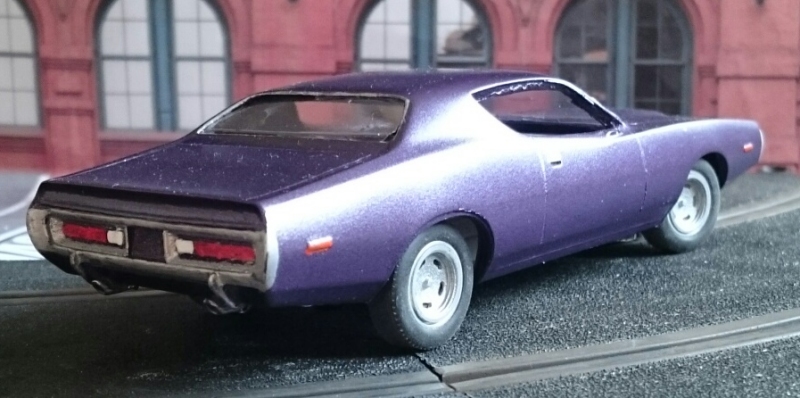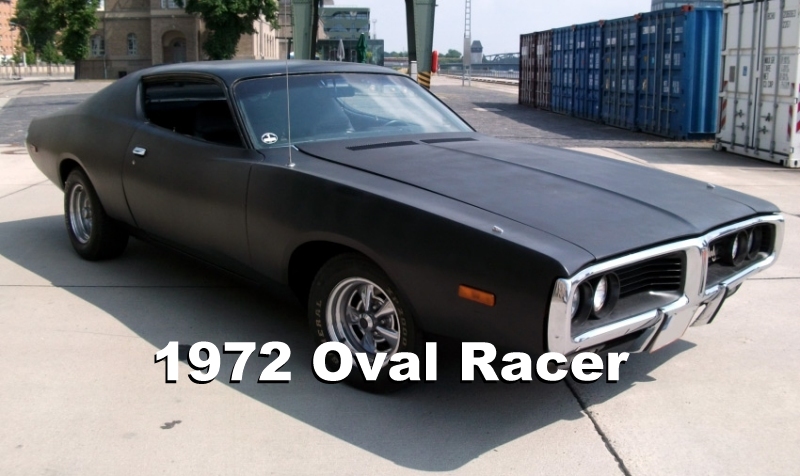
The 1969 Charger is iconic, but more hidden away in Dodge’s history is the 1972. Available in several different trim levels and a beautifully aggressive shape, it’s a mean street car, a successful NASCAR racer and even took part in the 1976 Le Mans.
Father and son team Doug and Herschel McGriff raced in the NASCAR GT class at Le Mans in 1976. The boys brought a red-white-and-blue war chest to France: a 1972 Dodge Charger, three purpose-built 426 engines, and 15 cases of Olympia beer labeled as “lubricant.”
Unfortunately, Herschel’s first run at Circuit de la Sarthe was brief—octane differences between Europe and the U.S. caused confusion (and detonation), and one of the HEMI’s pistons failed after a 215 mph dash down the Mulsanne Straight.
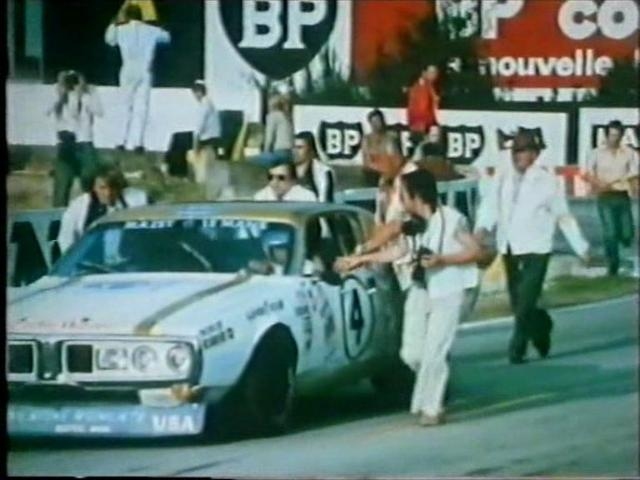
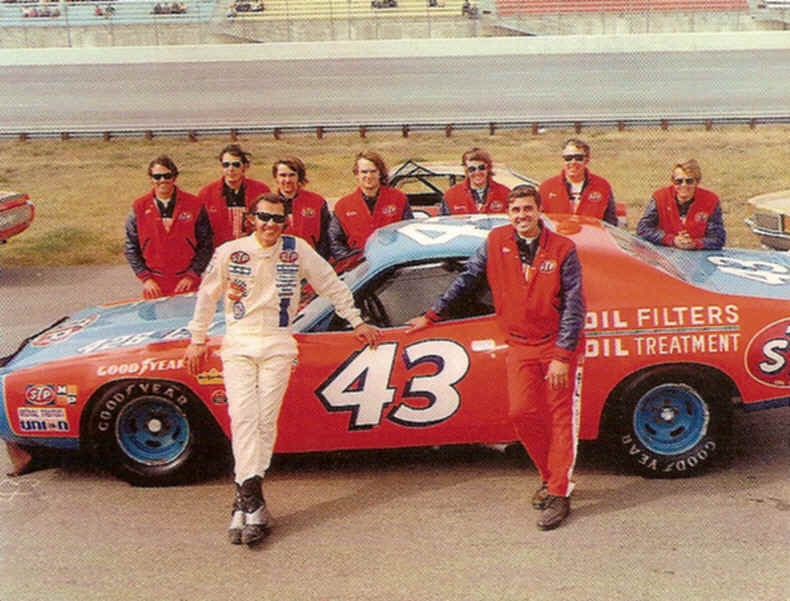
In 1972 Richard Petty stopped driving the Plymouth and changed instead to a Dodge Charger as he thought it would give him an aerodynamic advantage. This was the first year of the STP sponsorship and the famous blue of his race cars was joined by STP’s reddish orange.
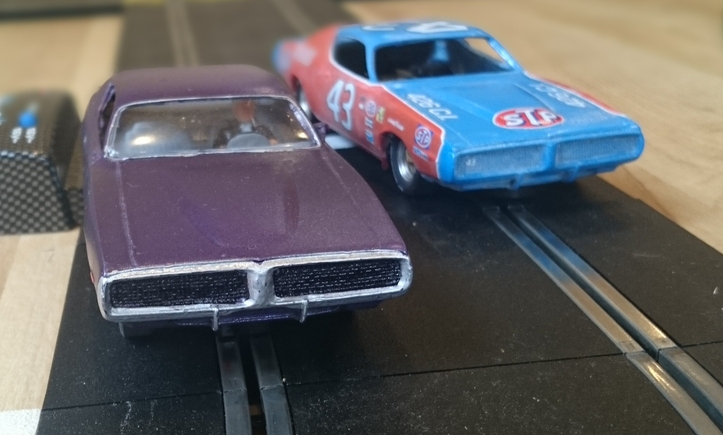
In road trim it’s a great looking car, the variety of paint jobs is huge and you can build your Charger on either a chase-cars chassis or a Pioneer, depending on whether you want a road car or a racer.
The 1:32 resin bodyshell is cast from a 2 part mould with body mounts already fitted and the windows are much thinner and easier to cut out than with my older bodyshells.
In the kit you get
- Resin bodyshell
- Vacform windows
- Vacform interior
- Resin driver’s head
- Resin wheel centres
- Waterslide graphics set
Bodyshell preparation is here, detail follows below.
You can use this bodyshell with either the chase-cars chassis or the Pioneer Dodge Charger chassis. If you use a Pioneer chassis you can either trim the chassis or the bodyshell around the edges. See further down the page for more details.


Add a couple of top coats. Purple for the road car.

Or blue for the racer

Pick out the details with chrome paint, with orange and red for the lights.


For the windows, cut them from the vacform sheet and glue them into place with Canopy Glue, most other glues cause the windows to fog up. Hold them in place with masking tape or Blutak while the glue dries.

Paint the interior to suit.

If you’re building a race car, you need the graphics available separately.

Watch out for the white areas around the orange, and the pure white graphics hidden in there too, don’t cut through them!

Put the roof graphic on first, this will align the side graphics later. Cut around the white surround.

The decals have already been coated with one thin coat of a water based acrylic to help protect them whilst they are applied, however they are very thin and can tear easily. The clear film is continuous and so each decal must be cut carefully from the sheet. Cut with a sharp scissors, craft knife or scalpel but leave a small clear margin around each decal. This will help to prevent any potential solvent ingress when the decals are coated with clear lacquer and will reduce the chance of any ink flaking off.
The decals should be dipped into warm water for 20-30 seconds and should not be allowed to float off the backing paper in the water. Shake off any loose water, then within 30 seconds, slide into position on the model.

Side graphics next.

The graphics are oversized so they wrap under the wheelarches. Make small cuts so you can tuck them under.


Apply the rest of the graphics as below.


To use the Pioneer chassis you will need to cut a little more of the resin away, do this before it’s painted, unlike me….
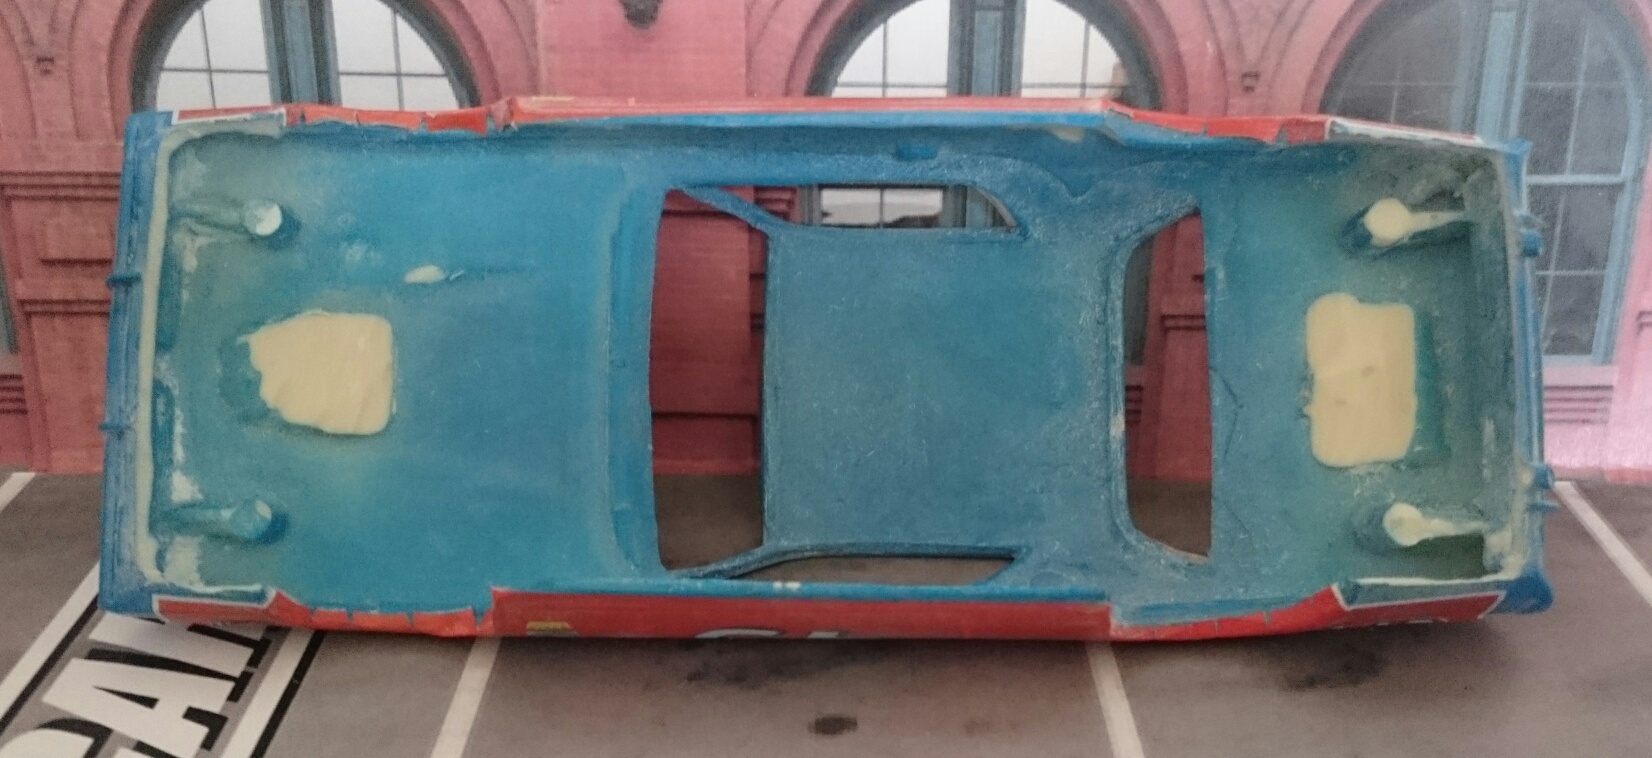
You can also cut away the body posts for the chase-cars chassis, just keep the cylindrical ones for the Pioneer chassis.
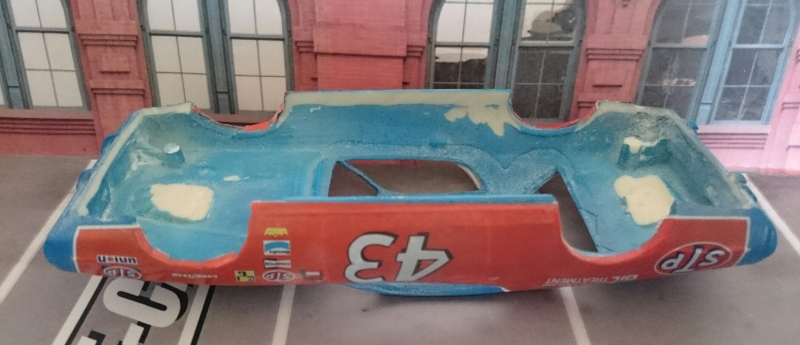
Trim a little from around the perimeter of the chassis.
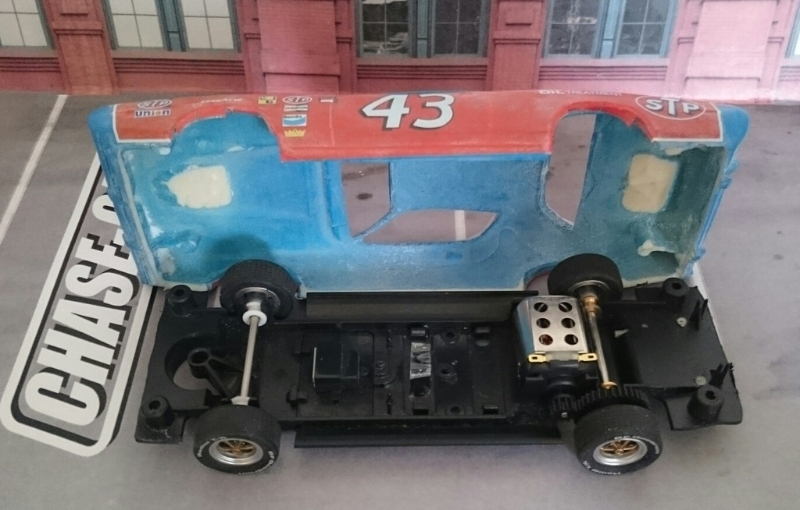
Drill the body posts and fit the chassis, checking for height.
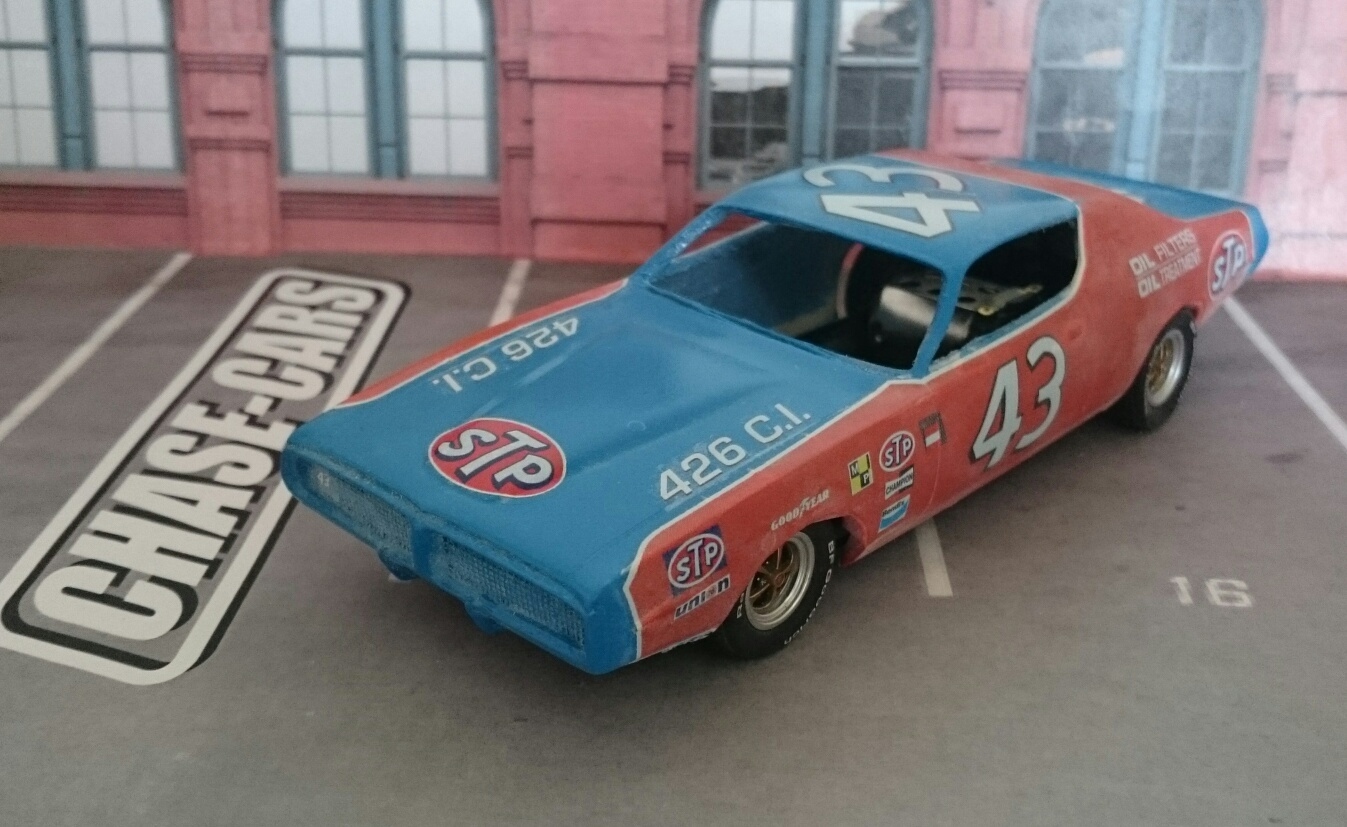
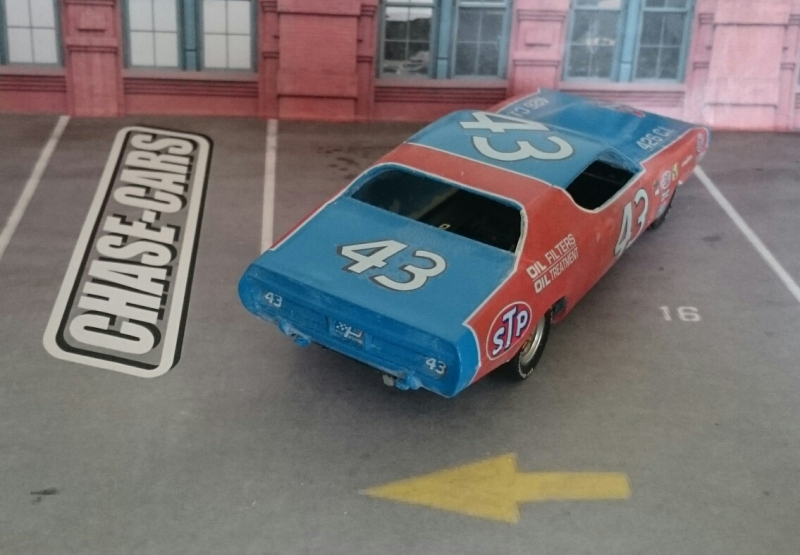
Fit the resin wheel inserts and get on the road, or the track!

