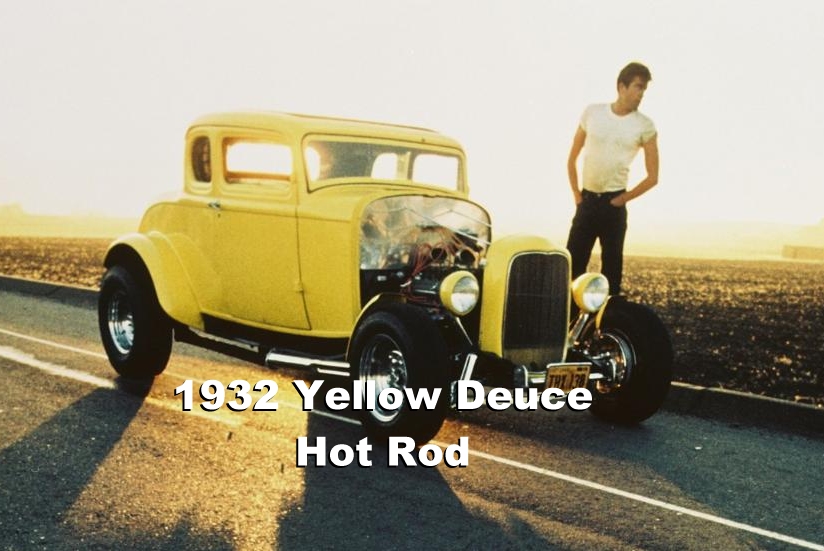
This is a truly iconic movie car, responsible for launching a thousand hot rod projects and making sure that we all say the colour is a cross between piss-yellow and puke-green. Nowadays when a movie is made there are countless cars built especially for different scenes and to make sure the production isn’t stopped by a mechanical mishap but back in 1972, the producer Gary Kurz bought one car and paid $1300 for it.
It needed quite a lot of work to get it pretty enough to be in front of the cameras and reliable enough to drive through every scene it was needed for, so the car was trailered to Bob Hamilton’s auto shop close to where the movie was shot in California to be fixed up. Henry Travers was the transportation manager on the movie and he then took the car to have the engine fitted with a Man-A-Fre intake manifold and four Rochester carburettors.
The interior was dyed black, the body was painted yellow but nobody is quite sure of the actual colour. Whatever it was at the start, because the car was abused during filming it was often completely repainted so the colour at the end may well have been different. I think Bob Falfa was a little harsh though.
For the final scene drag race, it was transportation manager Henry Travers that did the driving. He’d looked after the car for so long that it was only natural he knew it best. If you want to read more about the film, the cars and anything else related to it, Kip’s blog is a place you can spend a lot of time.
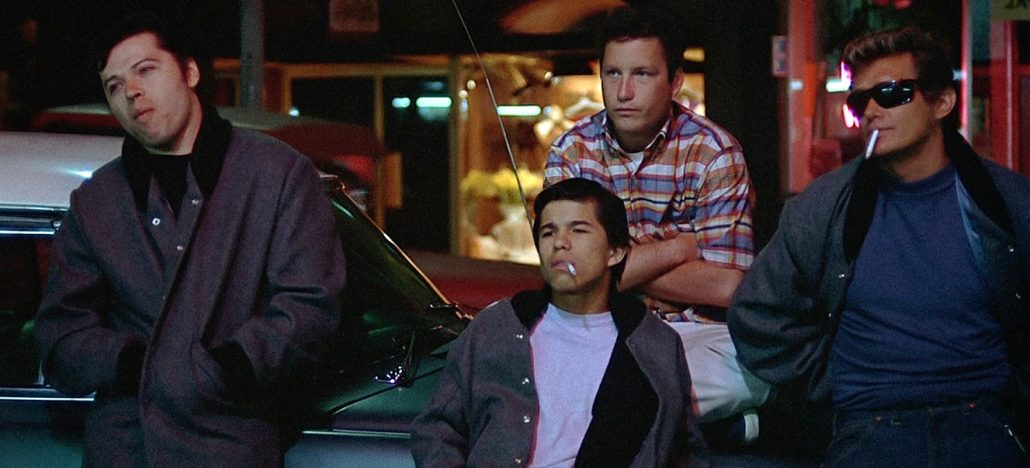
Like everyone in this town, you want to be a Pharaoh.
But as a second best, buy this kit and get building!
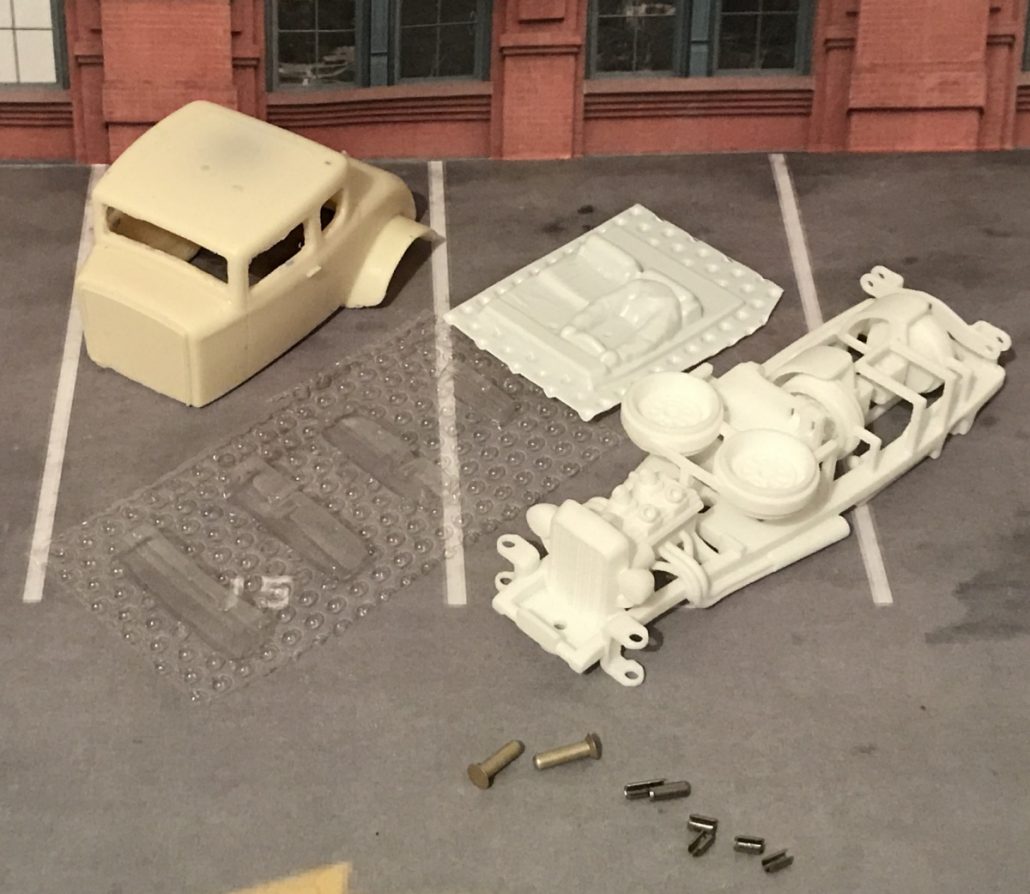
In the kit you get
- Resin bodyshell
- Vacform windows
- Resin driver head
- Vacform interior
- 3D Printed wheels
- Chassis with steering system
- Guide including braids, ferrules and silicone wire
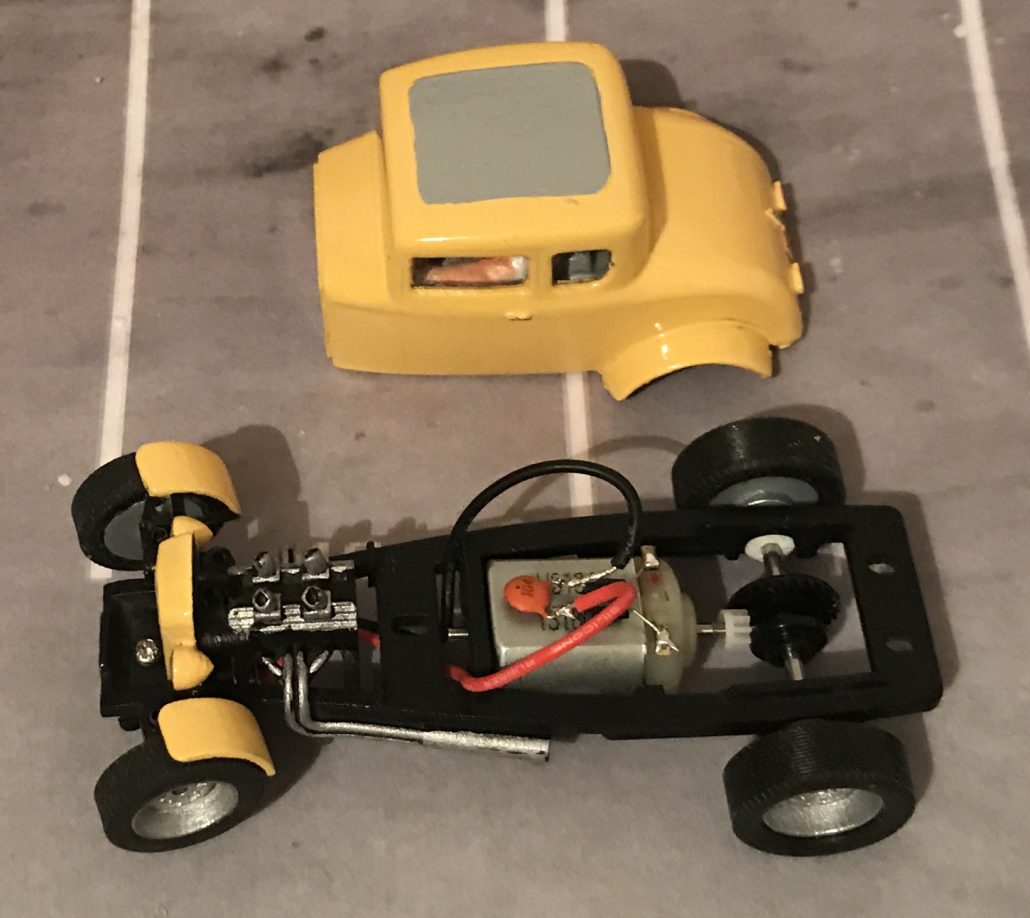
In fact everything you need except tyres and a Mabuchi motor from a 1980s – 2000s Scalextric car. Rear tyres are 49e Cobra rears, fronts are 49c Ninco classics from RS Slot Racing
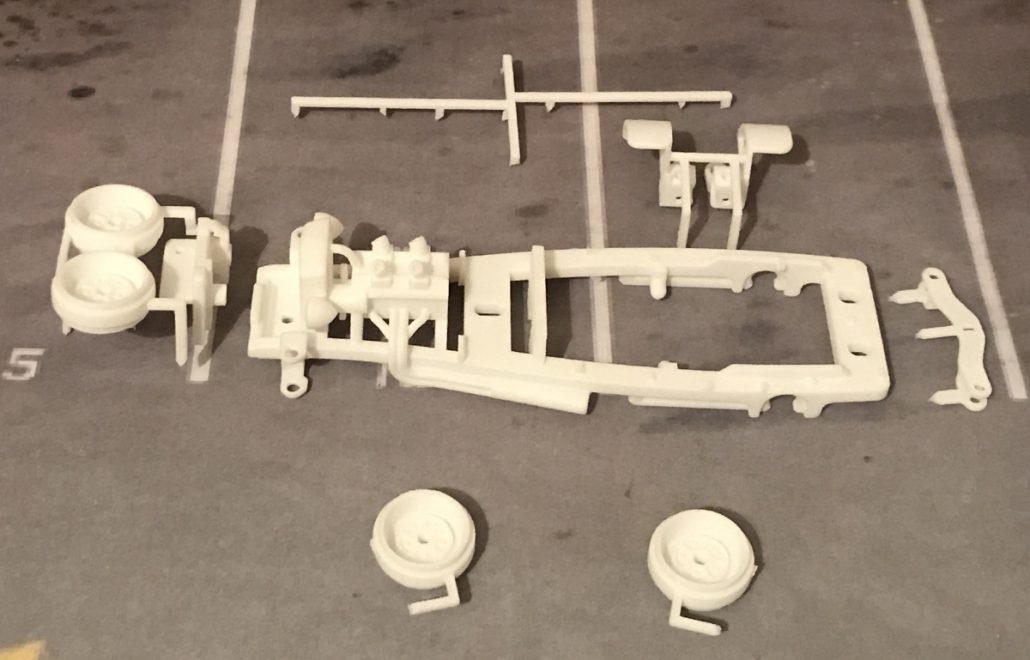
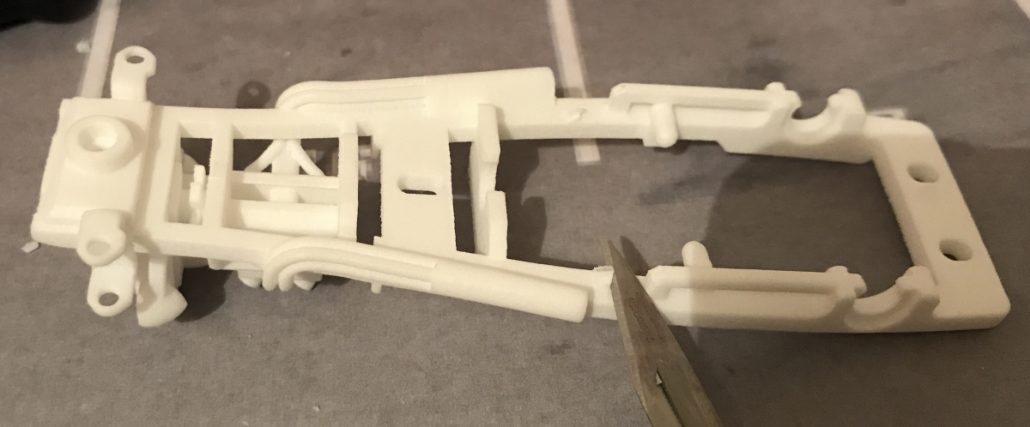
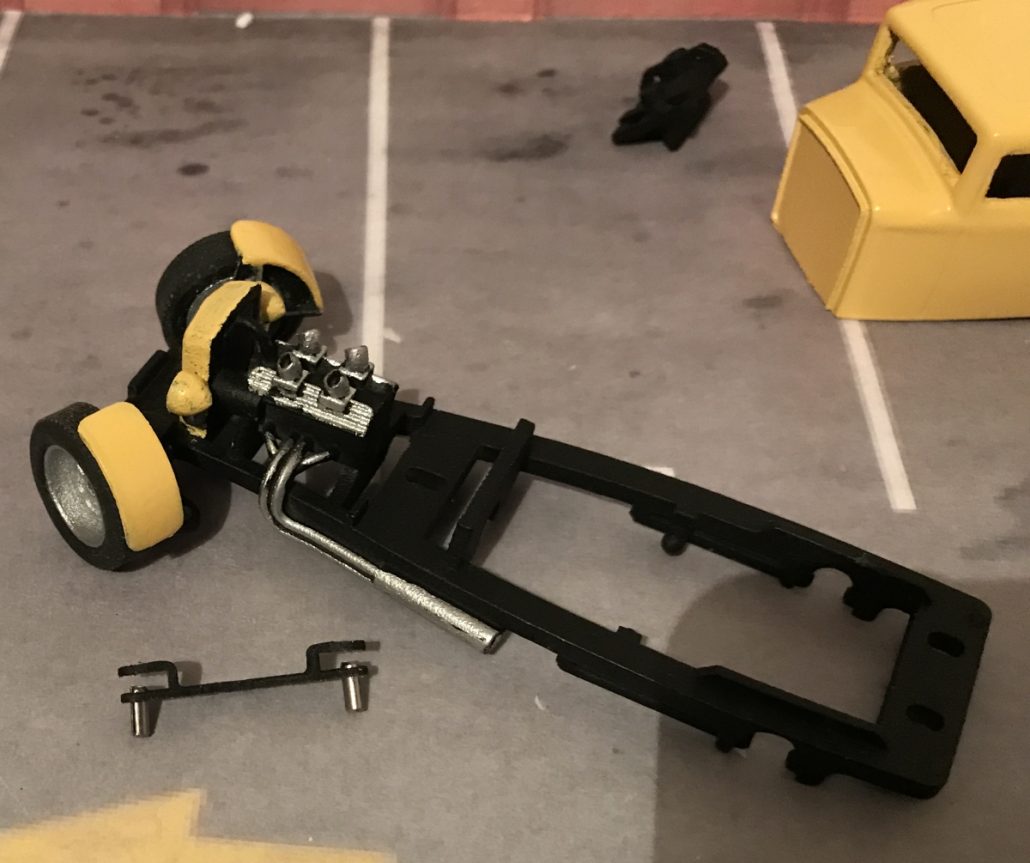
Here are the parts you start with.
The first thing to do is get the components off the chassis. Take some flush side cutters, turn the chassis upside down and cut through the support rail that holds the components in place.
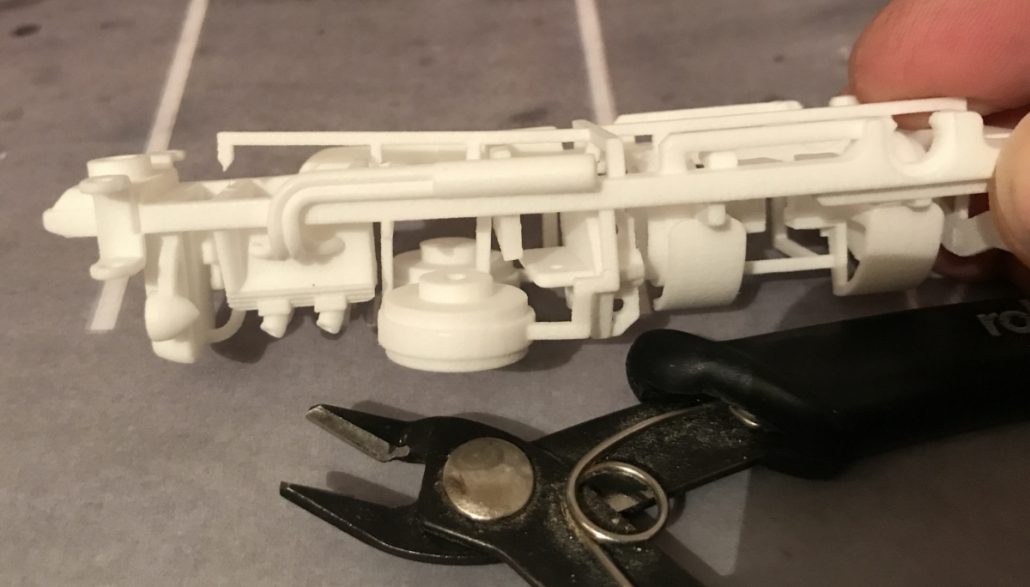
Remove the rail completely as shown below
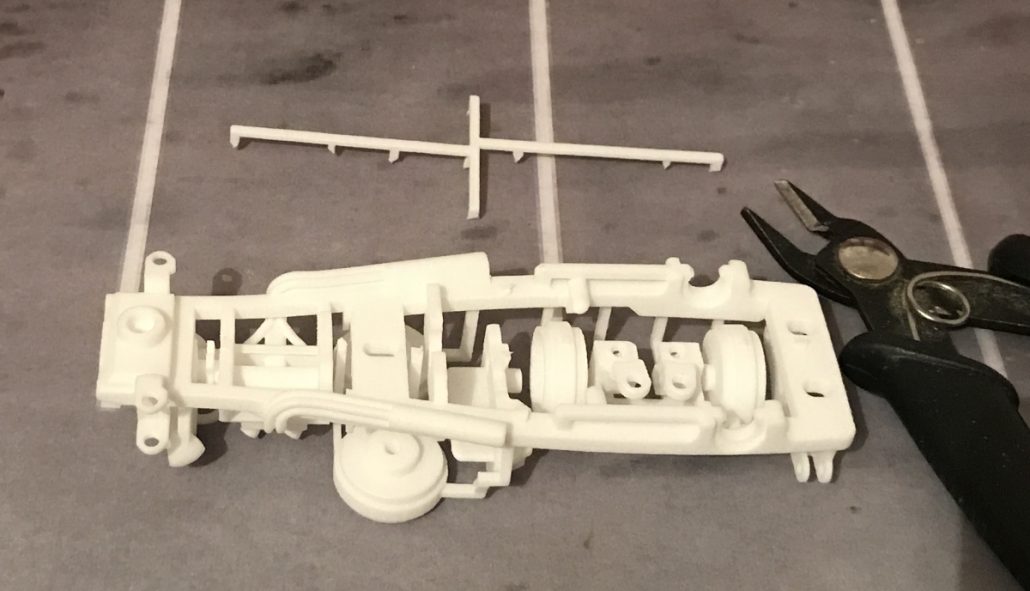
Now we can remove the guide and rear wheels
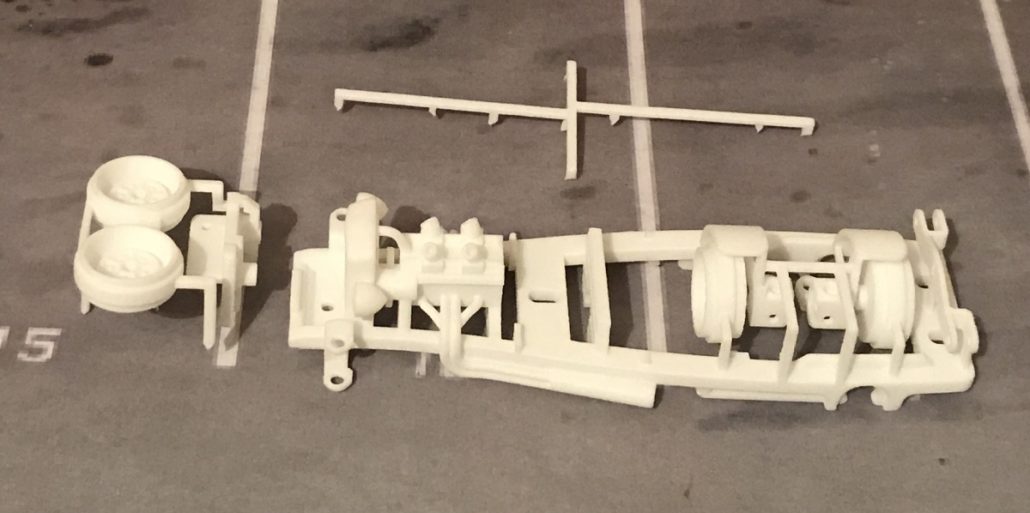
And finally the front wheels, fenders and steering linkage
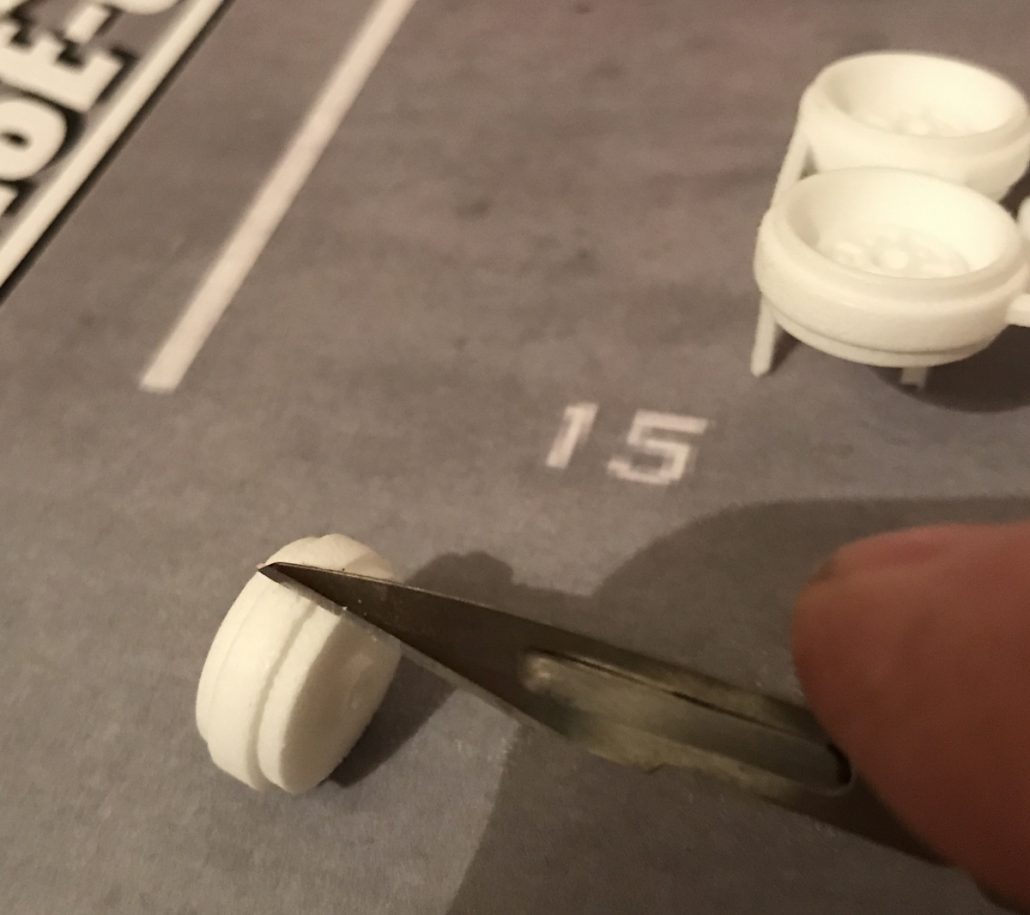
Using a sharp scalpel, trim the plastic off the wheels
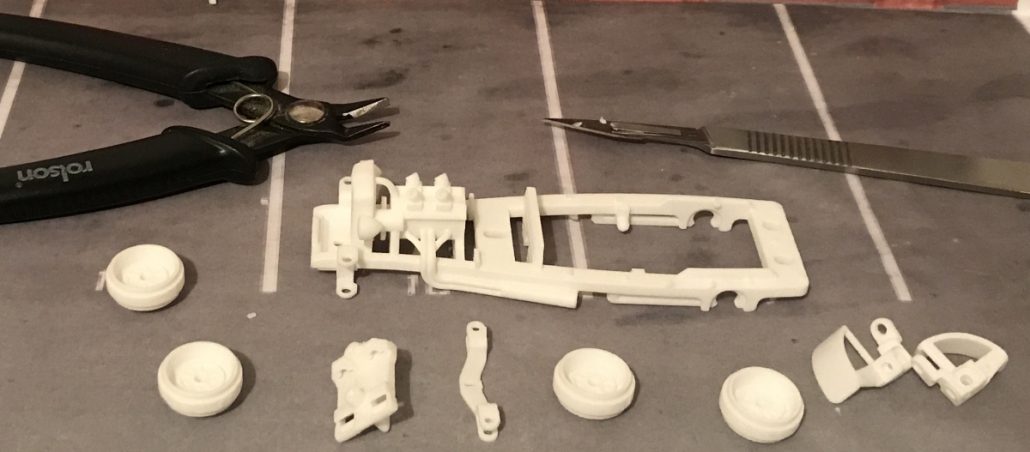
And trim the other pieces too, until it all looks like this
Now we can do the same trimming on the chassis
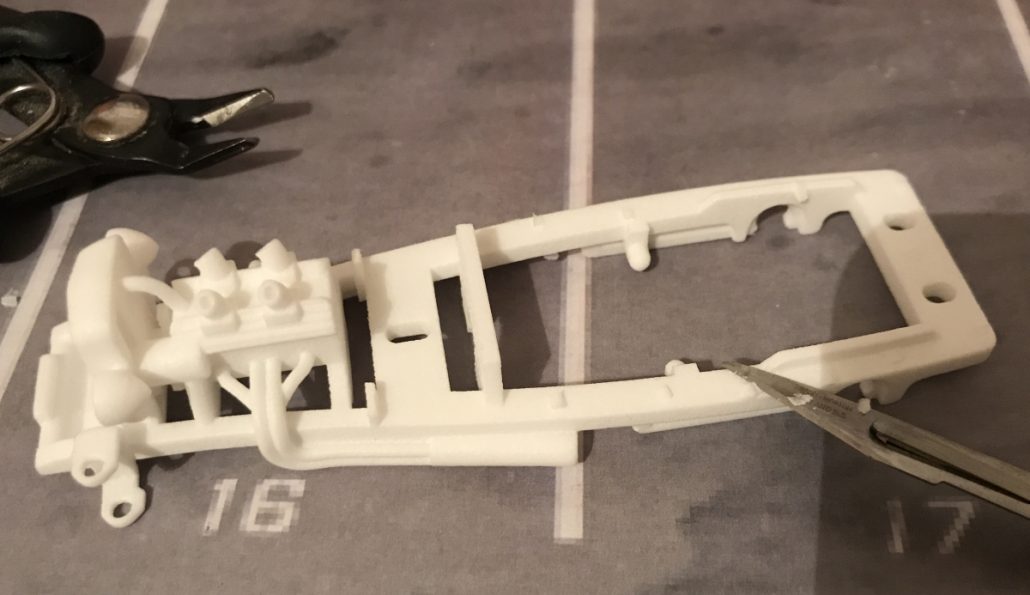
And on these points too so the body can sit flat on the chassis

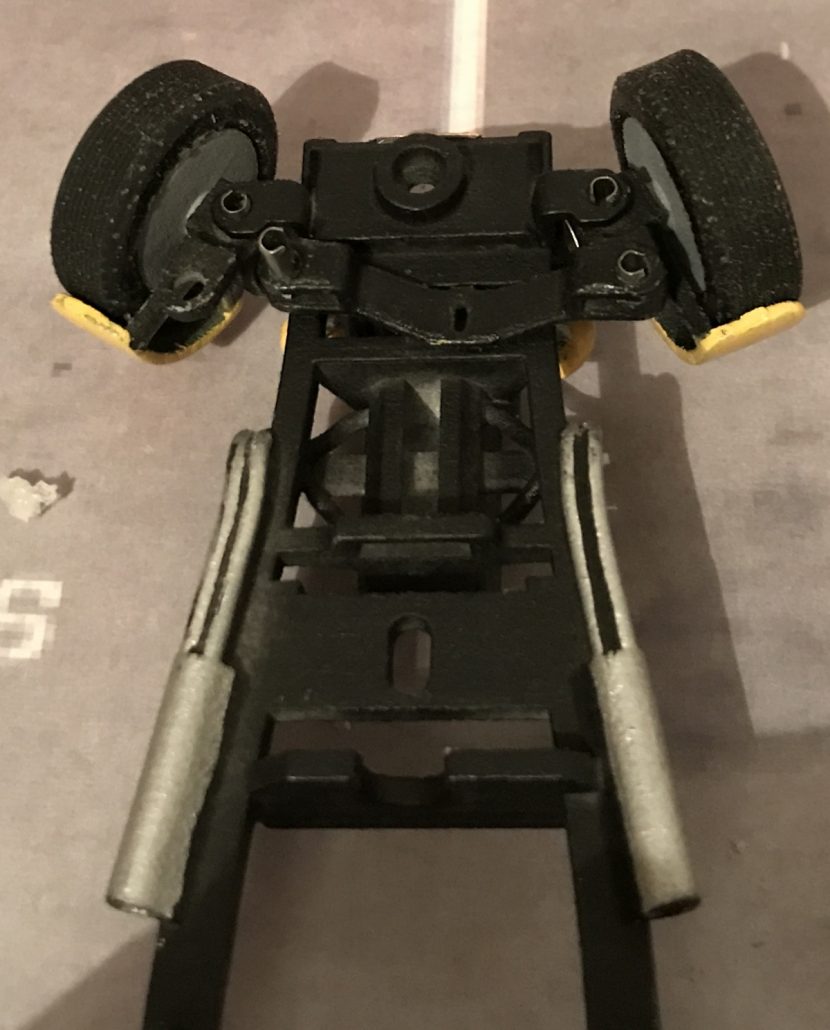
Finally, turn the chassis over and trim it here
Painting all these parts when they’re together is fiddly so I painted them while they were apart and assembled them when the paint was dry.
Don’t make the same mistake I did – put the licence plate waterslide graphic on now and use clear lacquer to protect it. I put it on at the end and had to mask off the tyres, what an idiot.
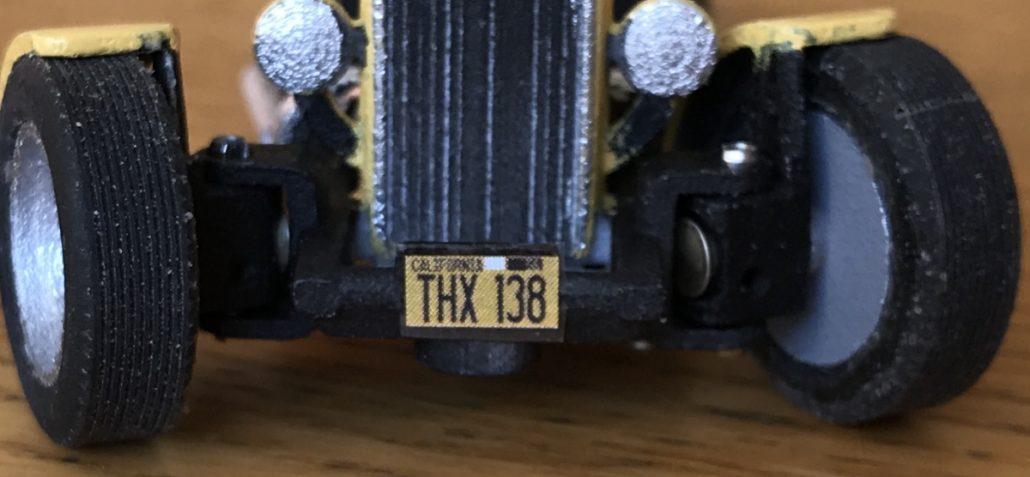
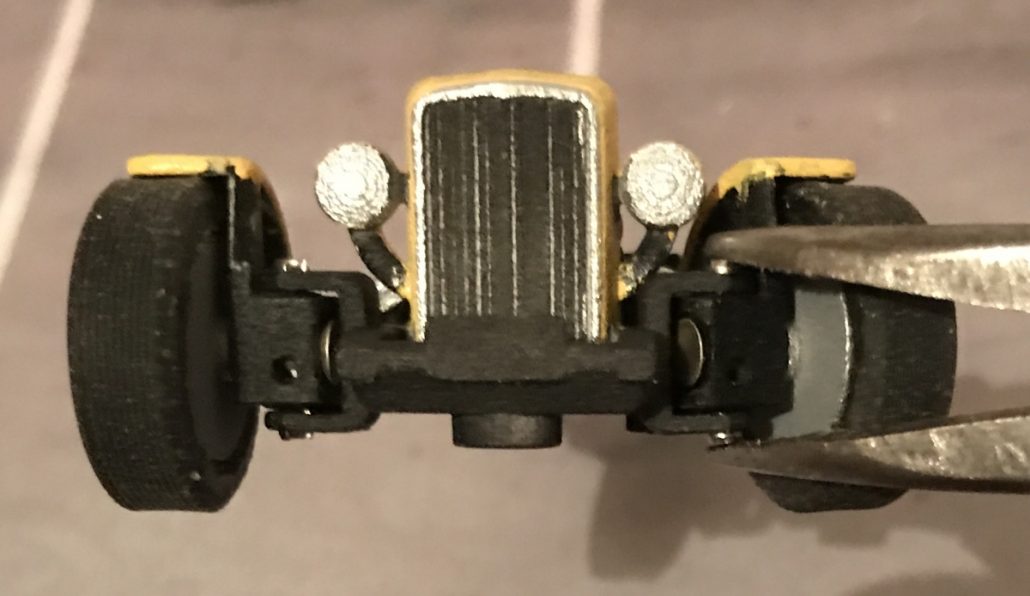
Let’s do the front end, starting with pushing the stub axles through the hubs as shown.
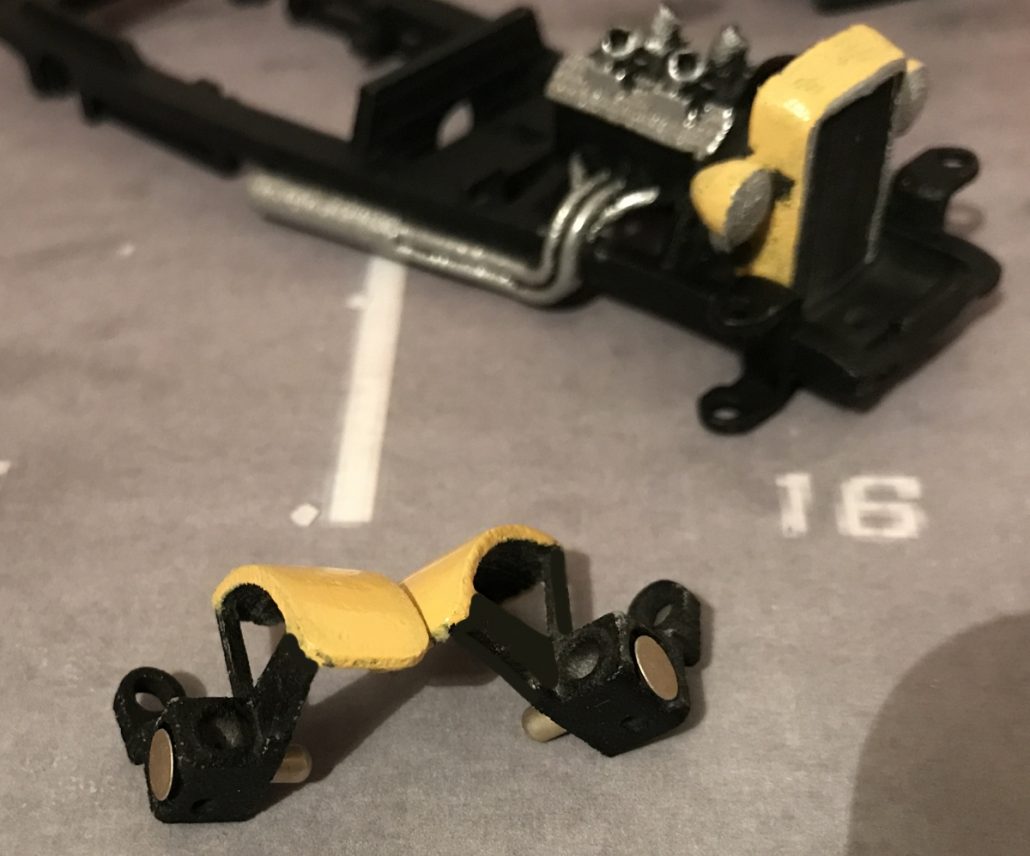
Take the 4 short metal pins and push them through the axle beam so they just stick through a tiny amount.
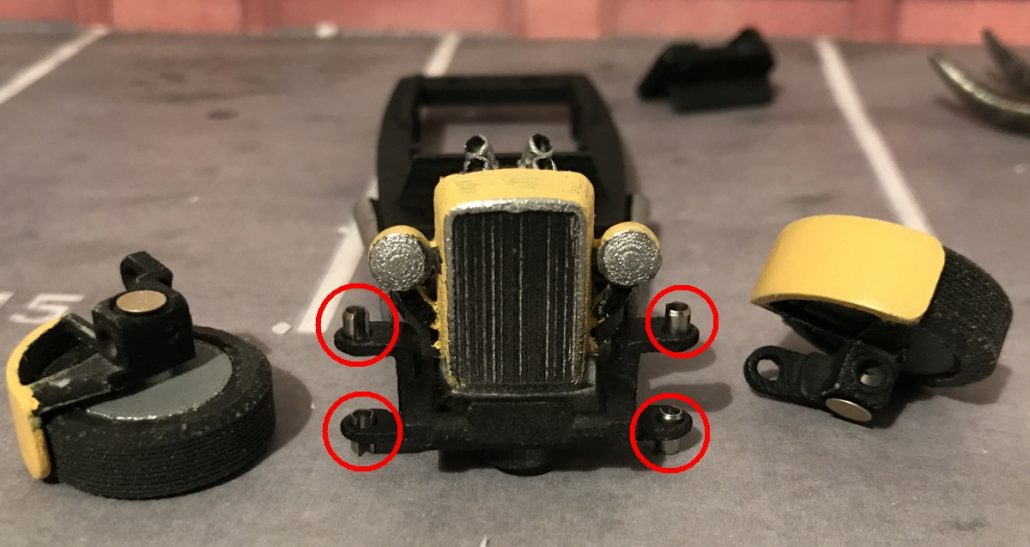
Now assemble the hubs and gently push the pins down like this
Take the 2 longer pins and push them through the steering link
Assemble the link this way
Push the pins through as before and the steering is done
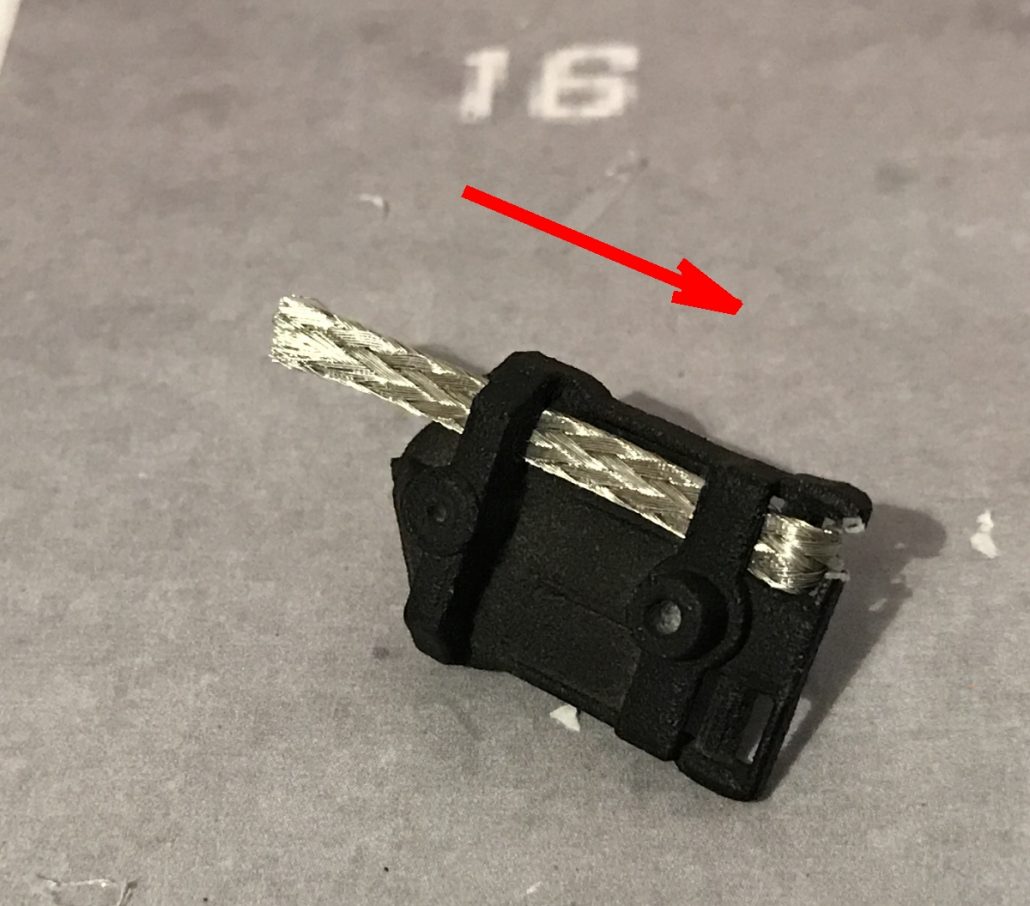
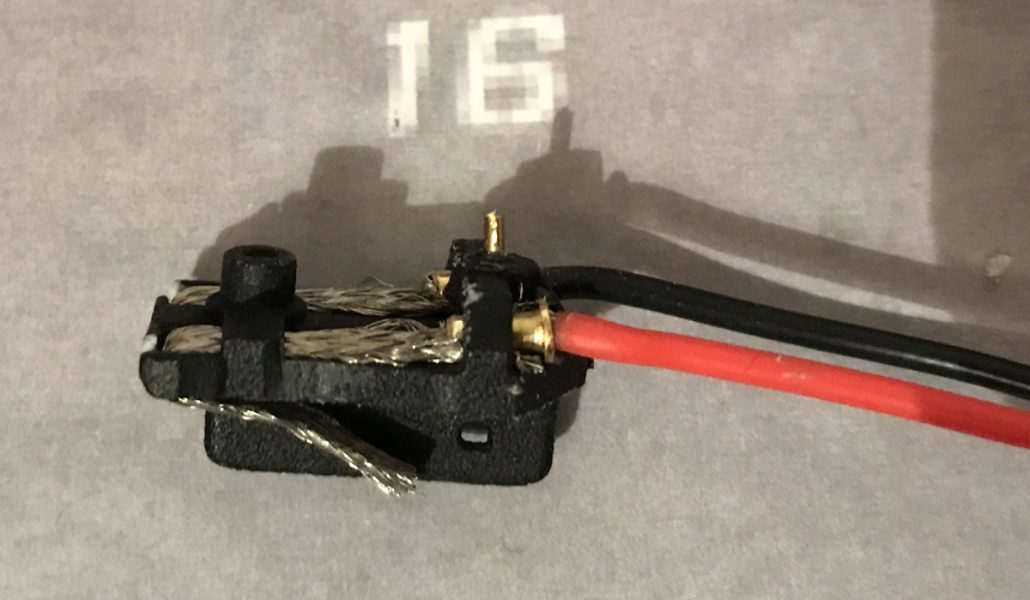
Time to put the guide together. The braids fit through this way. You might find it easier to cut the front of the guide to get the braid through as shown below
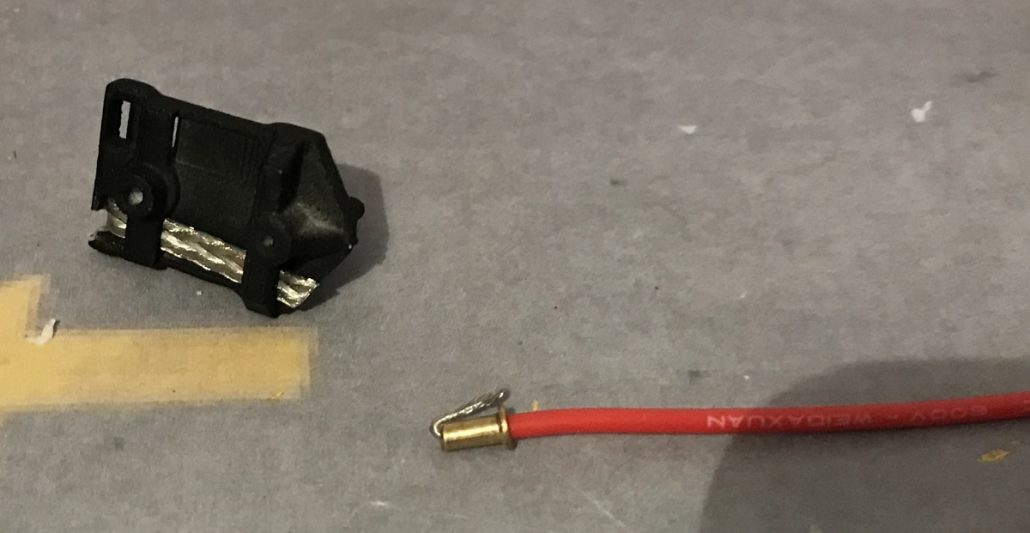
Strip back the motor wire and push it through the ferrule as below
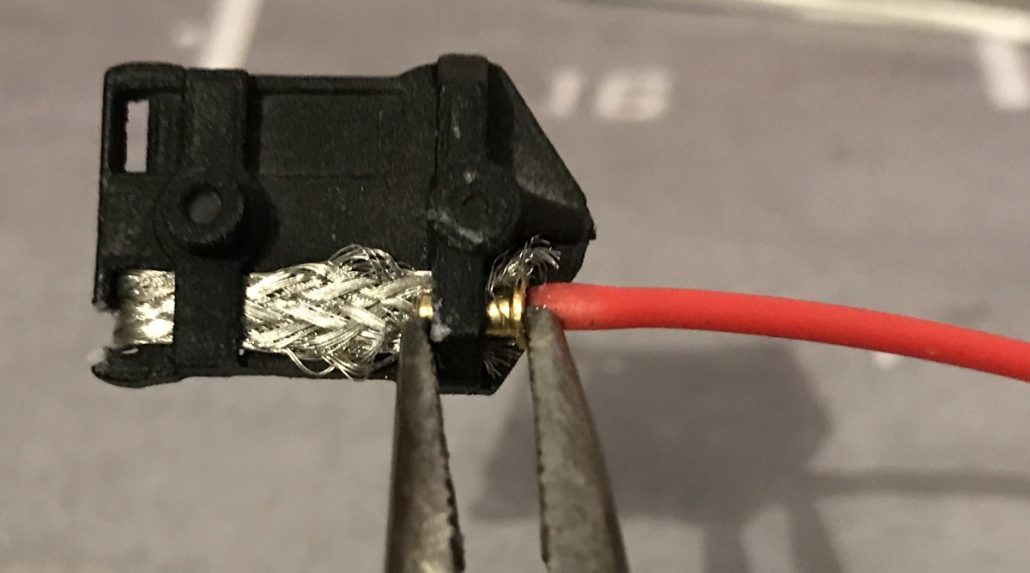
Then push the ferrule through to make contact with the braid
Glue in the brass pin that goes into the steering linkage
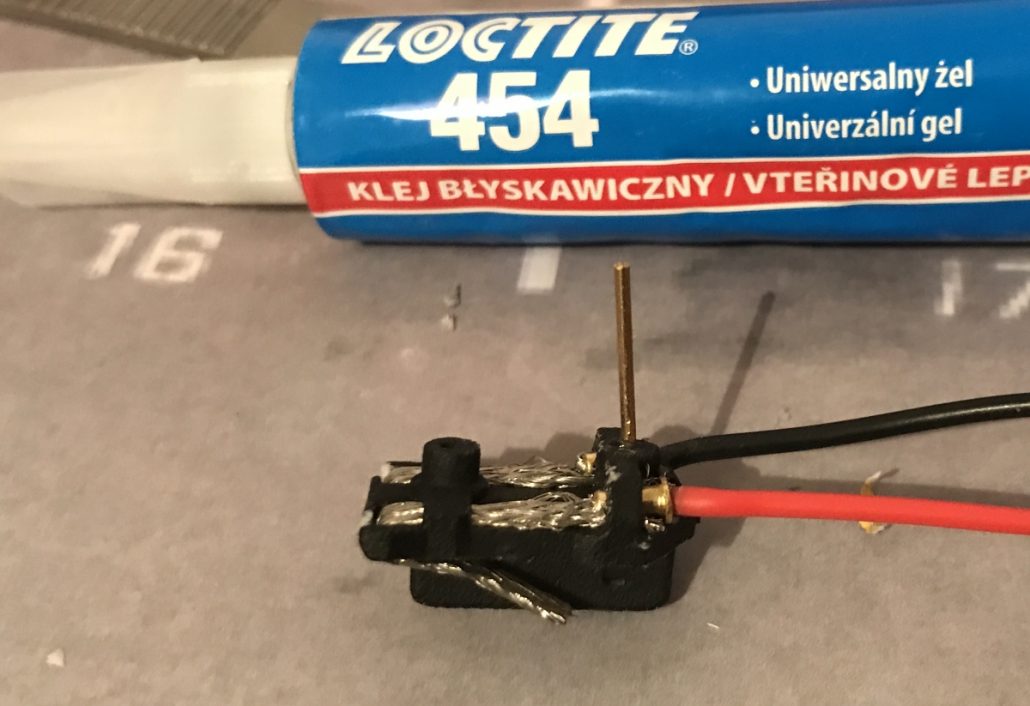
Then trim it to length
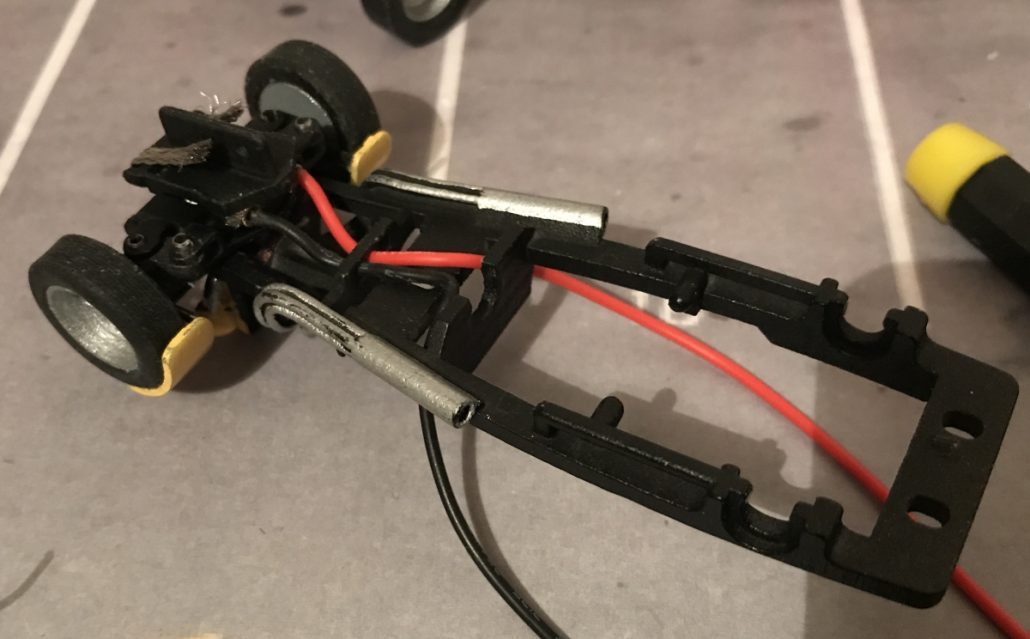
Route the wires through as shown so they stay out of sight
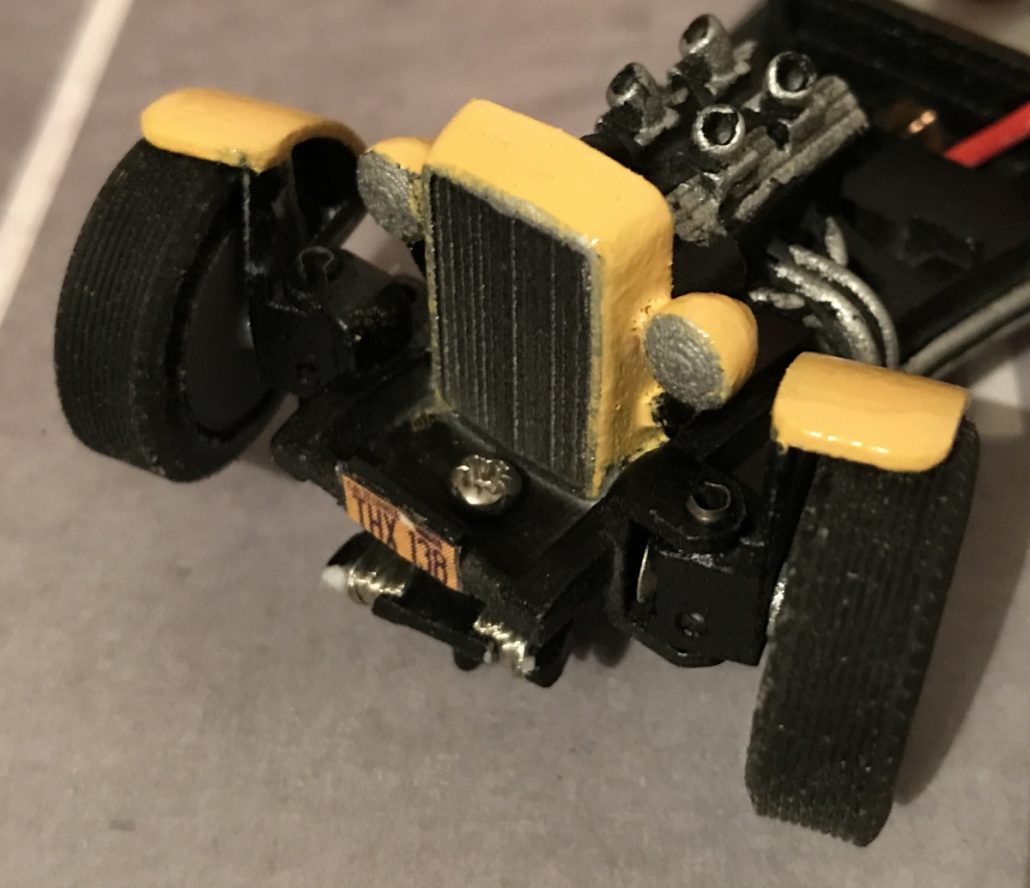
Fit the screw from the top
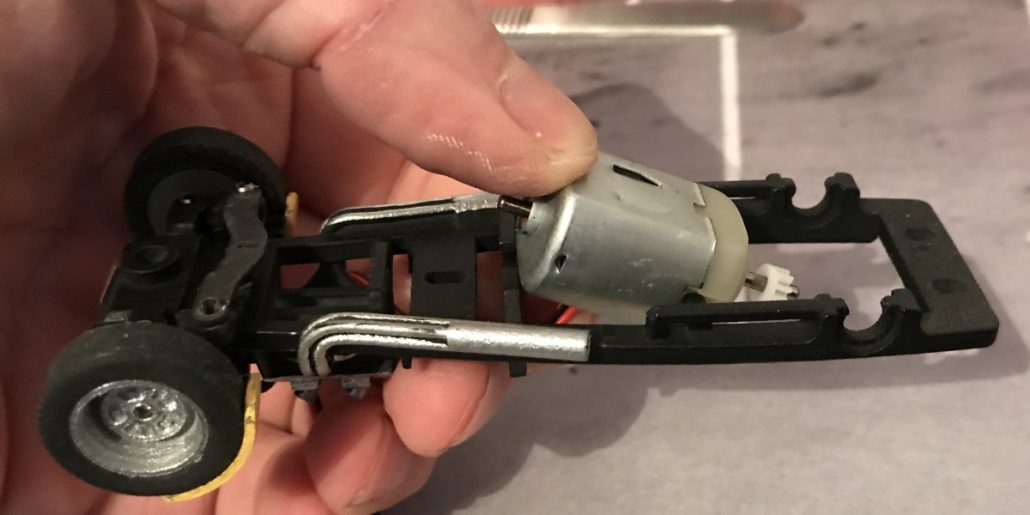
Turn the chassis over and push the motor into the chassis. It hooks into the pins on the side and then clips in at the front.
Fit the rear axle and then solder the wires onto the motor, leaving some slack so you can remove the guide later if you need to replace the braids.
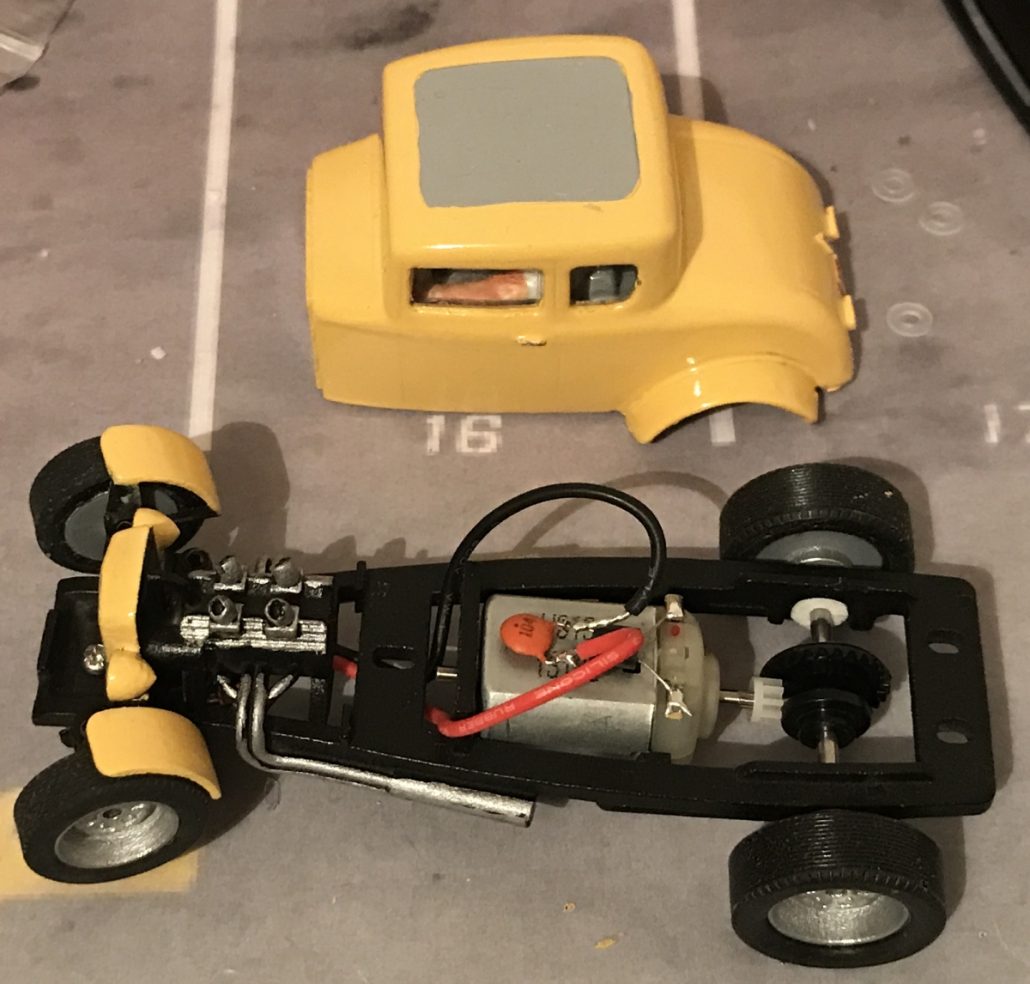
Use canopy glue to glue the windows in place and the same glue for the interior.
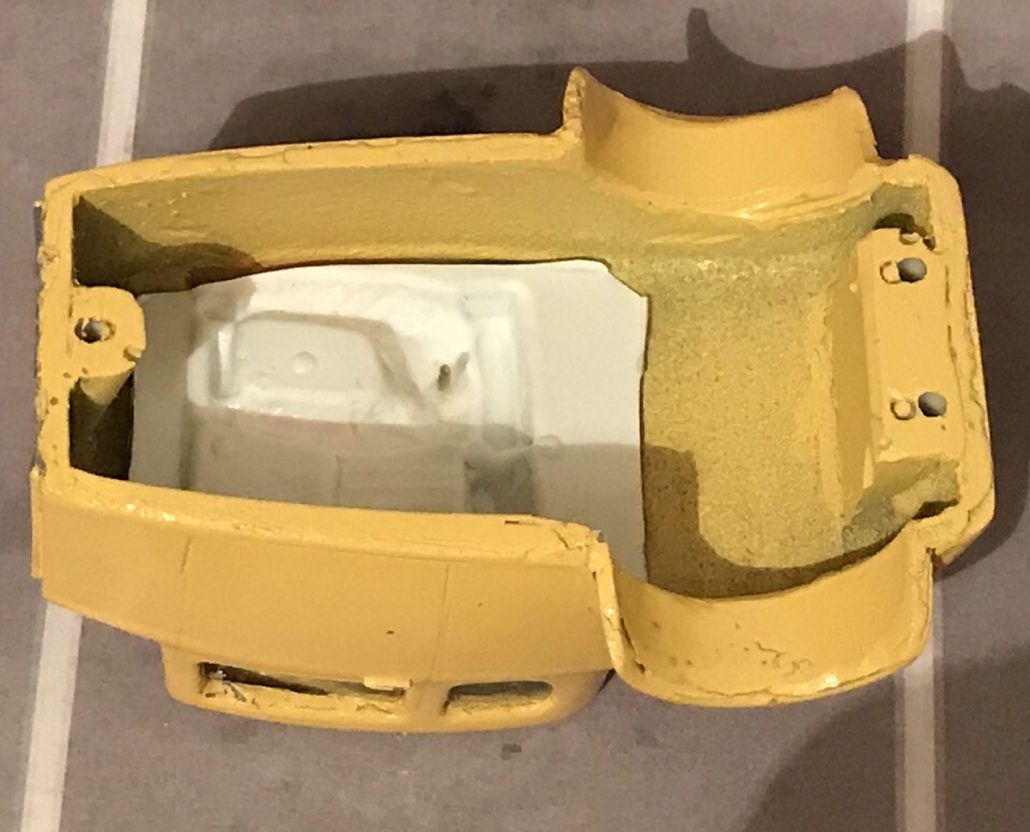
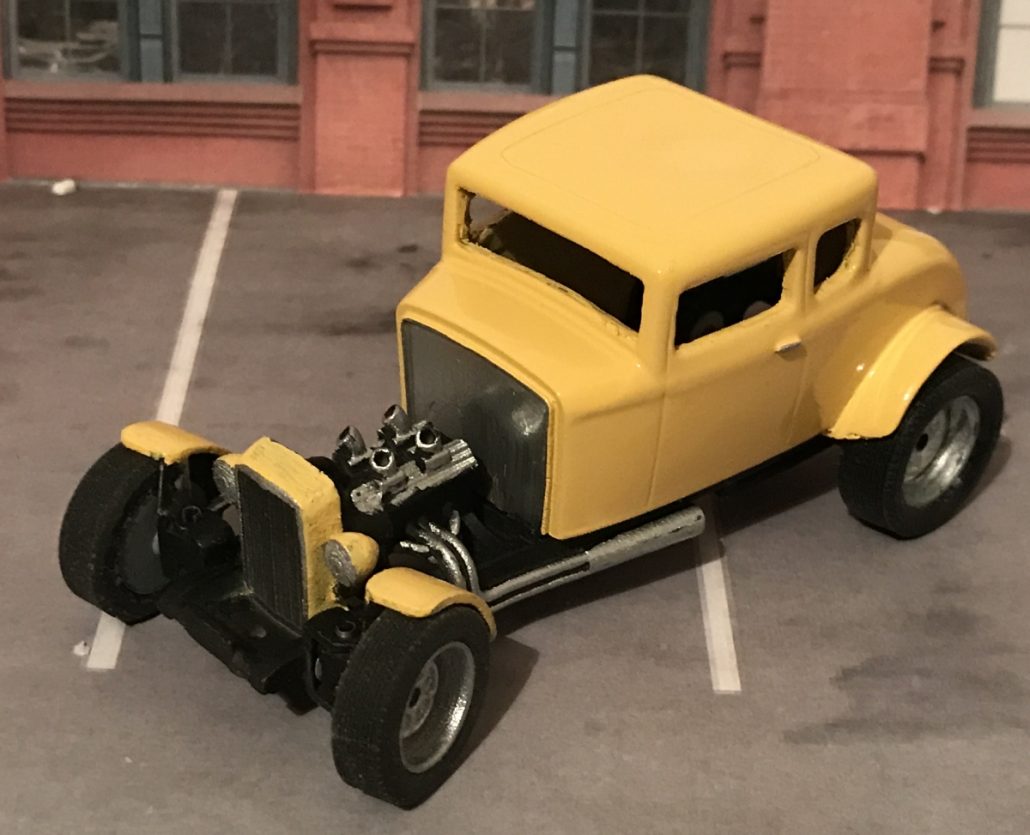
Fit the bodyshell and you’re ready to go!
