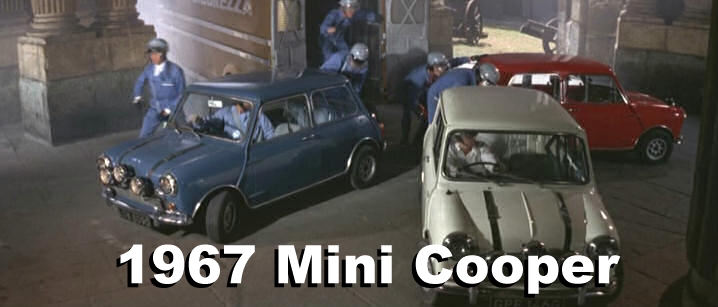
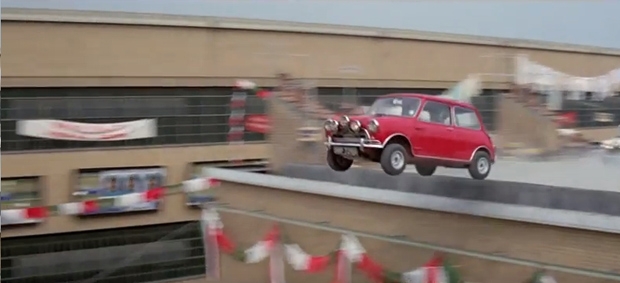
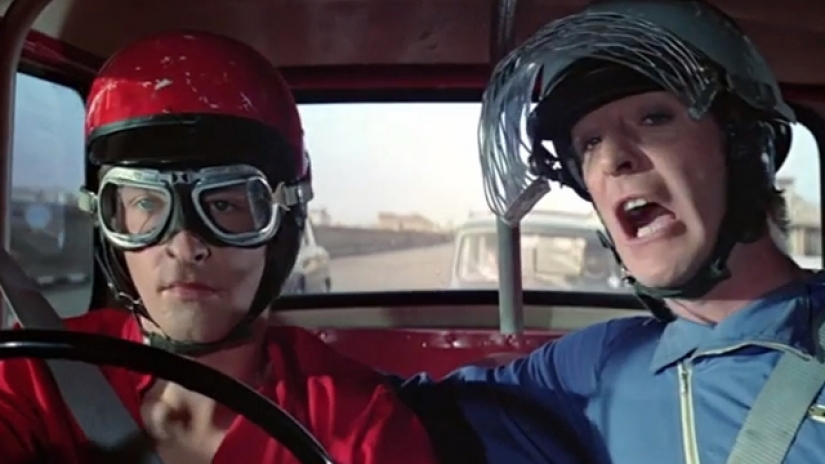
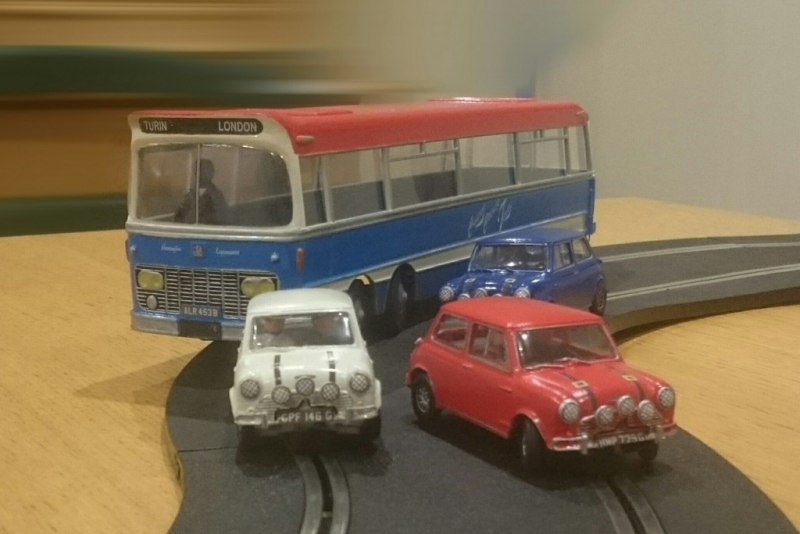
What did you think of the 1969 Italian Job film? I loved it except for one part – when they pushed the Minis out of the coach and down the mountain. Now is the time to make up for that terrible deed and get yourself a 1:32 Mini Cooper which you promise to never throw down a mountain.
Just a minute there, chase-cars, I thought you made slot cars that were difficult to get elsewhere? I can get a Mini from almost anywhere, can’t I?
A fair point you make, but let’s dig a little deeper. The Italian Job film used 1967 Minis, registered as 1969 to make them look newer and finding these Mark 1 Coopers in 1:32 is difficult. Scalextric made a limited edition set a few years ago but the rear bumpers were wrong and they are incredibly expensive now. So to make a Mini that looks authentic means you’ll have to start modifying them yourself. There’s also the small matter of these cars not being great to drive without their magnets and of course they don’t have steering front wheels either.
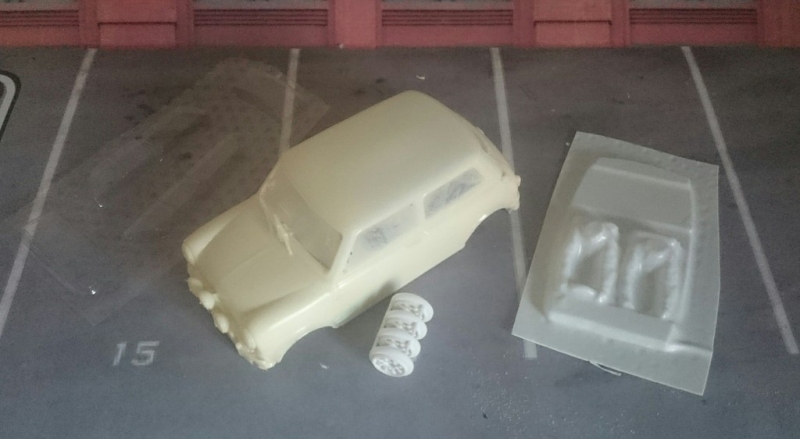
In the kit you get
- Resin bodyshell
- Vacform windows
- Vacform interior
- Resin driver and passenger’s heads
- 3D printed wheels
- Waterslide graphics set
Bodyshell preparation is here, detail follows below.
For the tyres, I use 52M Airfix Mini tyres from RS Slot Racing.
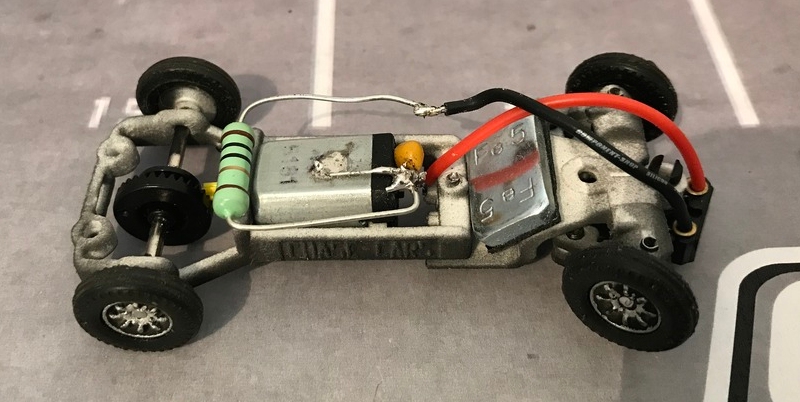
As a chassis you need an 012-500 and 32mm steering so you can get the wheels in line!
Using a scalpel, open out the windows and wheel surrounds. If you’re fitting the waterslide graphics to the spotlights you might want to file off the pips to make the graphics stick better.
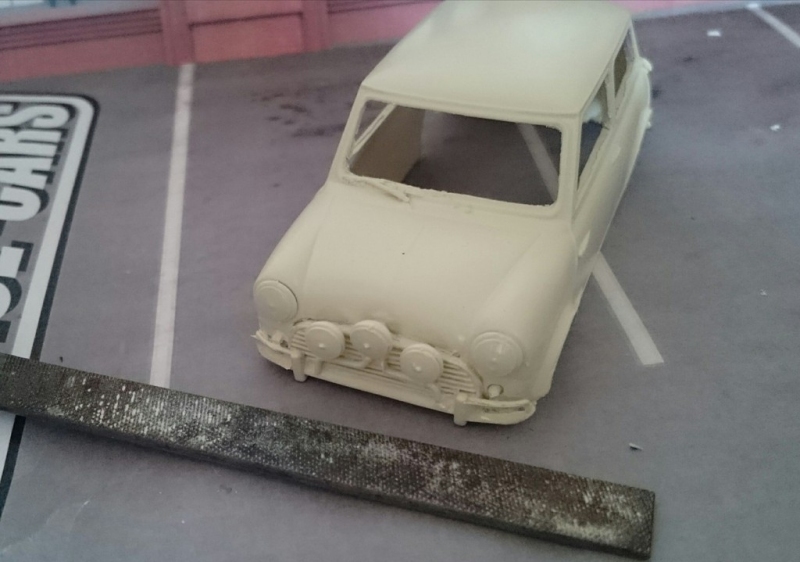
Wash the bodyshell in warm, soapy water to remove any grease from the surface and then apply primer to suit the top coat. Next, apply the waterslide graphics for each car, spray on a coat of clear lacquer to protect them and cut out the vacform windows.
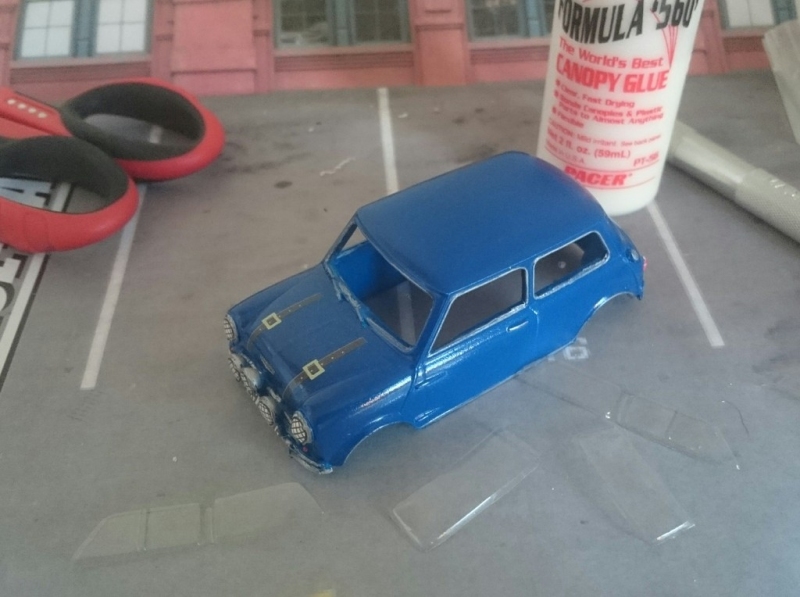
I use a dedicated “canopy glue” to stick the windows, it doesn’t make the windows bloom like most glues do. Fit the windows and use masking tape to hold them in place.
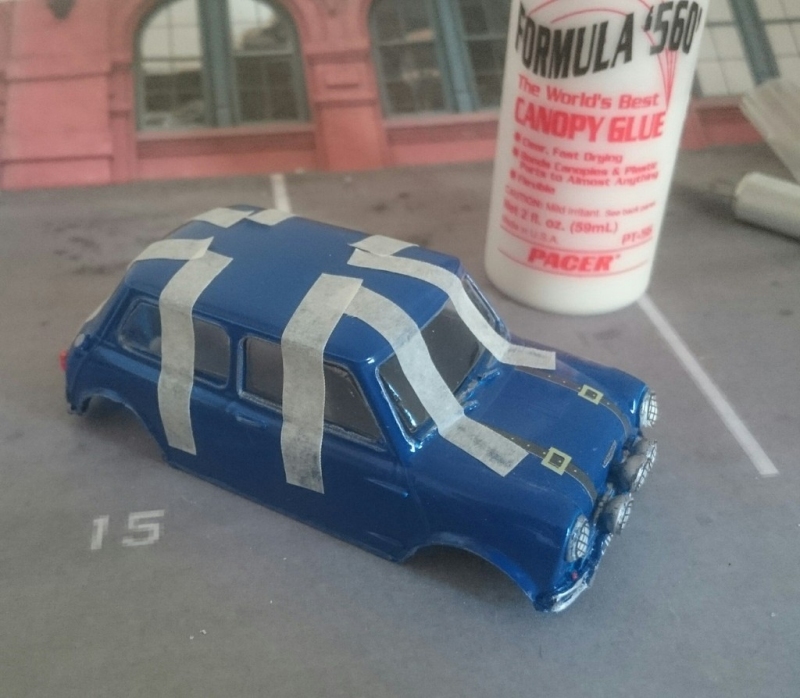
Apply the glue as thin as possible inside the bodyshell.
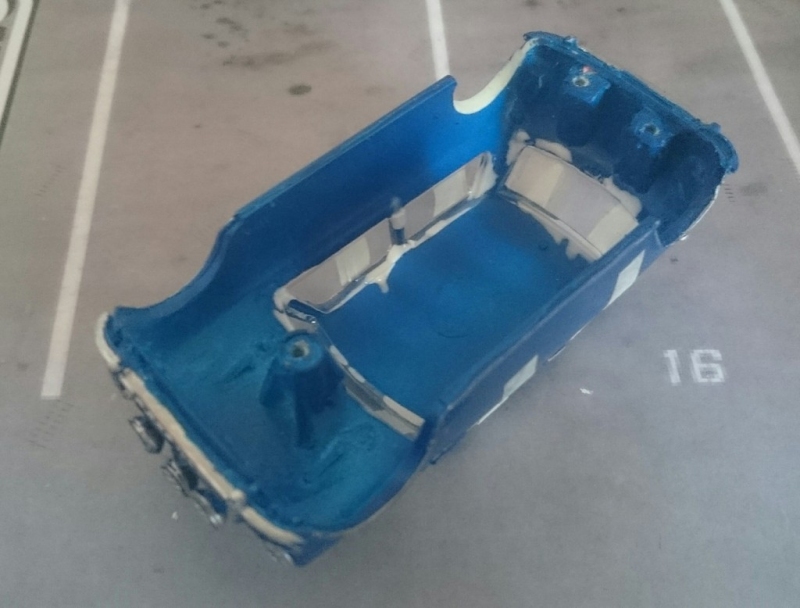
Paint the interior in a boring, flat grey. Then you can paint the driver and passengers as shown.
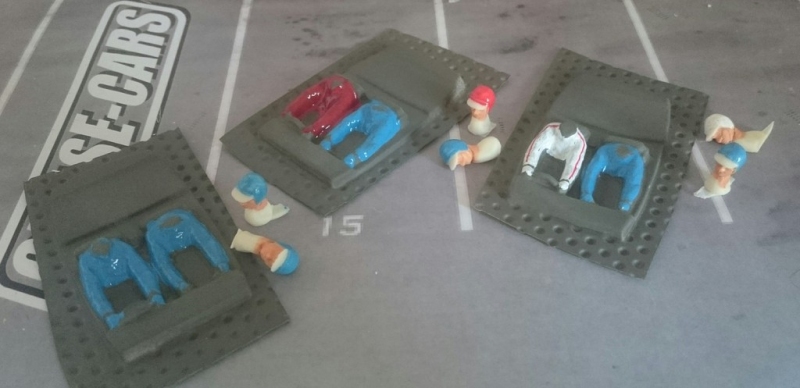
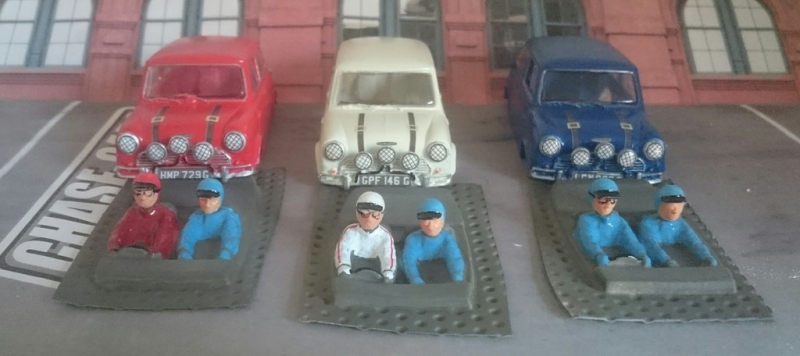
Drill the mounting holes for the chassis and experiment with weight too. 5g towards the front works for me.
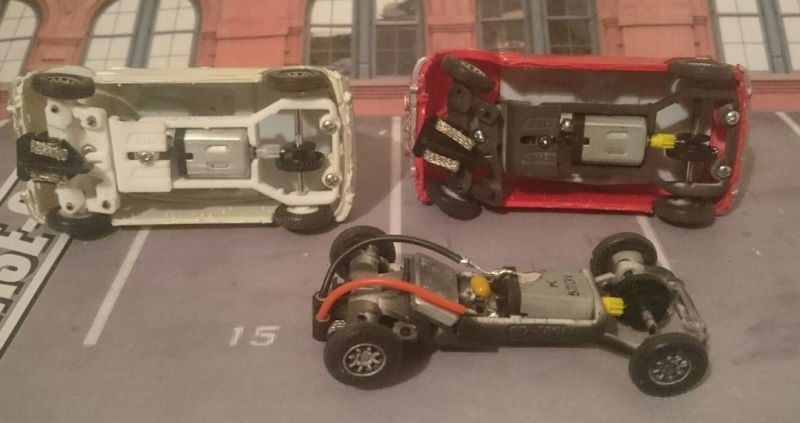
If you find the car a bit tricky to drive you can add a 10 ohm, 2 watt resistor to make it easier.
Now get on the track, and if you need something to help with your getaway, you know where to look.
A video to inspire you!
